CICON Setup
CICON Setup
System Requirements
-
Operating System:
- Windows XP
- Windows 7
- Windows 8
- Windows 10
- Windows 11
-
Processor (CPU):
- Pentium 233Mhz or faster
-
RAM:
- Minimum 64MB RAM
-
Hard Drive Space:
- Minimum 200MB
-
Communication Port:
- USB Port
- Ethernet Port
- Serial Port
CICON Installation
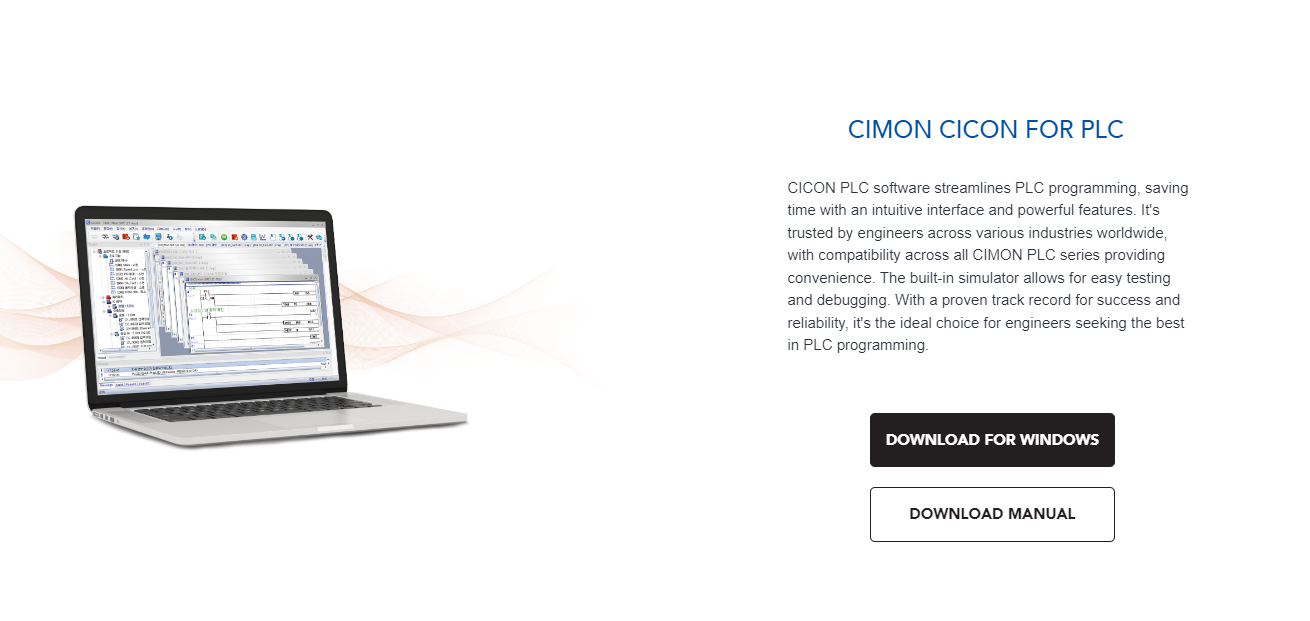
CICON is software that allows users to create projects that can be downloaded to CIMON’s PLCs. Users can download any software version from the CIMON website.
To use the CICON project correctly, please ensure you have a PLC CPU to download to.
PLC CPUs: CM3-SPnnMDnF/V, CM3-SPROA, CM3-SBnnMDnF, CM3-SPnnPD CM1-UPnF, XPnF/S/U, XPnE, CPnE/F, XPnA/R,
- To download CICON, go to the CIMON website and register for an account if one still needs to be created. Make sure to log in before proceeding.

- In the menu at the top left, hover over Support and click Download Software.

- Or navigate to the bottom of the main page and click Download Now.

- Navigate to the CICON PLC Software and click DOWNLOAD FOR WINDOWS.
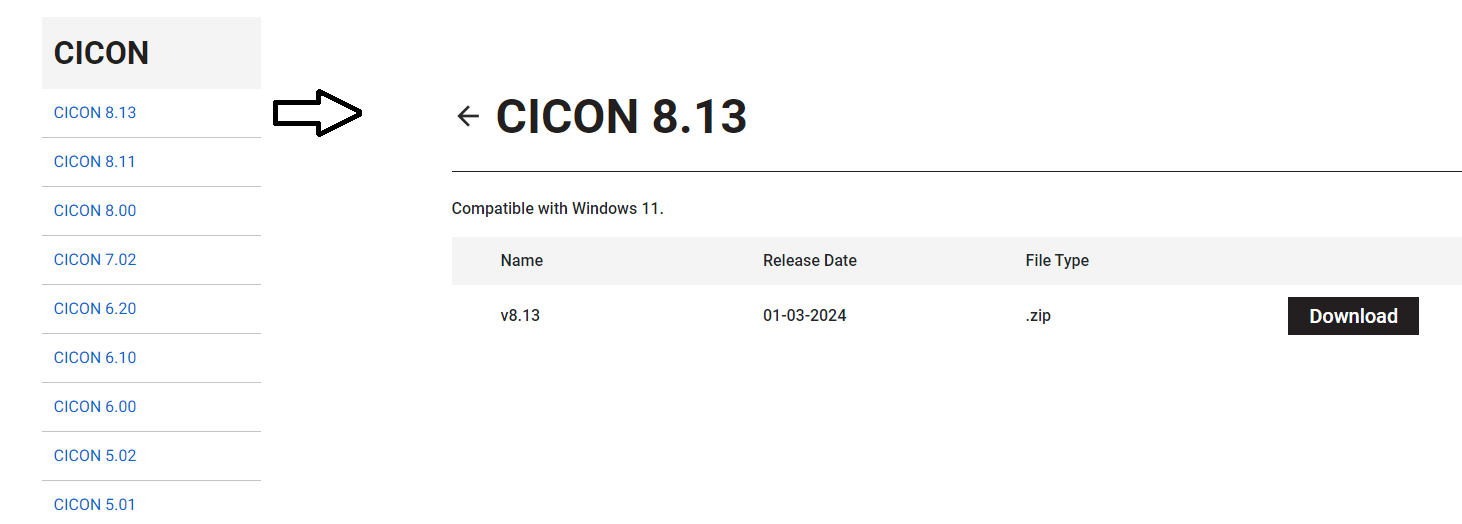
- Select the most recent software version and click Download on the correct Windows Installer.
- Extract the downloaded zip file, then run the installer in Administrator Mode. Click Yes on the administrator prompt.

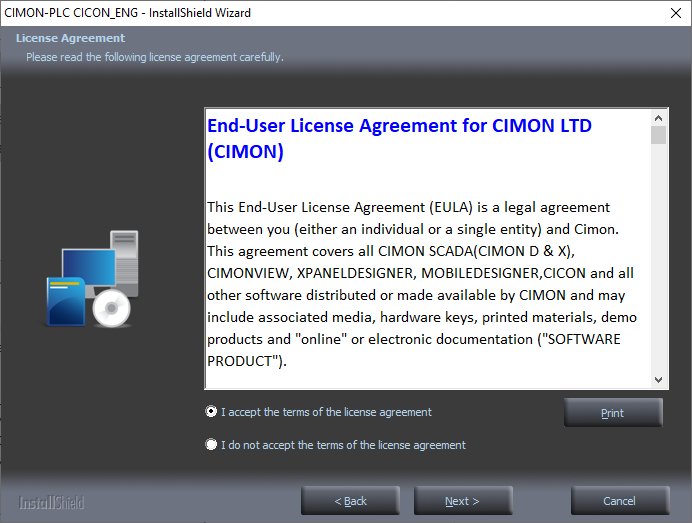
- Read the End-User License Agreement. The agreement must be accepted to continue the installation. Click the I accept the terms in the License Agreement checkbox > Next.
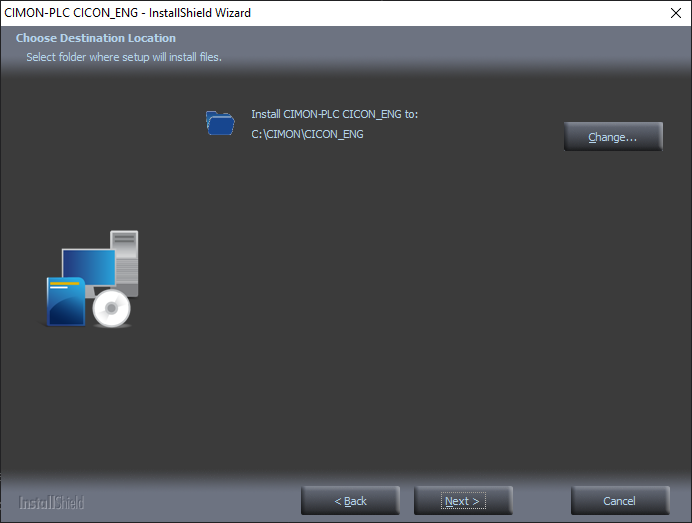
- Specify the location of CICON and click Next. If the path is unchanged, the software will be installed to C:\CIMON\CICON_ENG by default. However, the default pathway may differ depending on the version of CICON. Currently, versions 5.0.1 and above are installed to C:\CIMON\CICON_ENG by default; however, this is subject to change in the future.
- The CICON Setup Wizard will ask which parts of the installer to include. By default, the complete option will be selected for the optimal experience. Click Next after selections to continue the installation process.

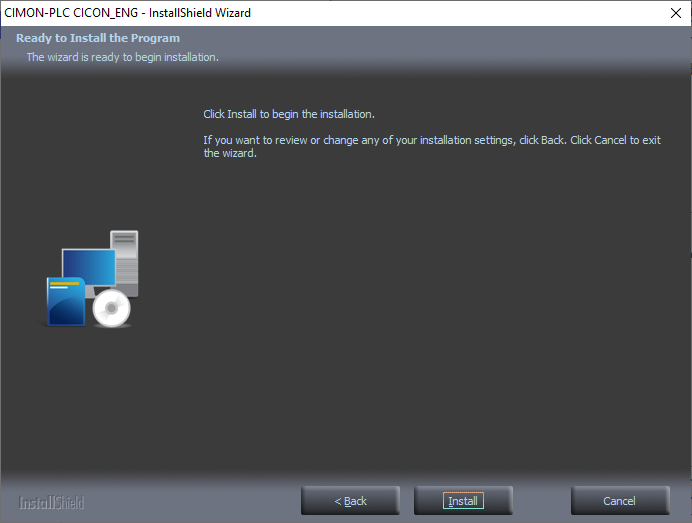
- Now, the CICON Setup Wizard is ready to install CICON. Click Install to begin the installation. There may be popups during installation. Click OK on the popup to continue.
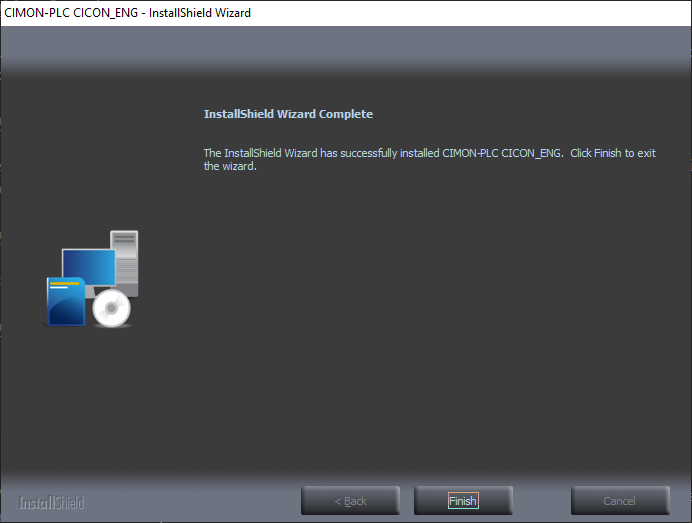
- Click Finish to complete the CICON installation.
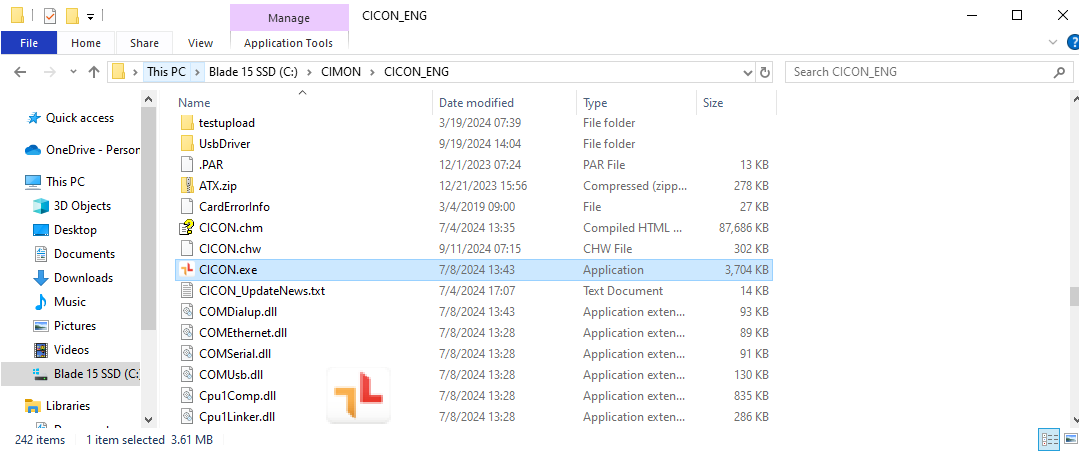
- Launch CICON.exe to check if the installation was successful. CICON should launch and show the Startup Screen. Users can select a project to continue editing if there are any saved projects from previous installations.
Uninstallation
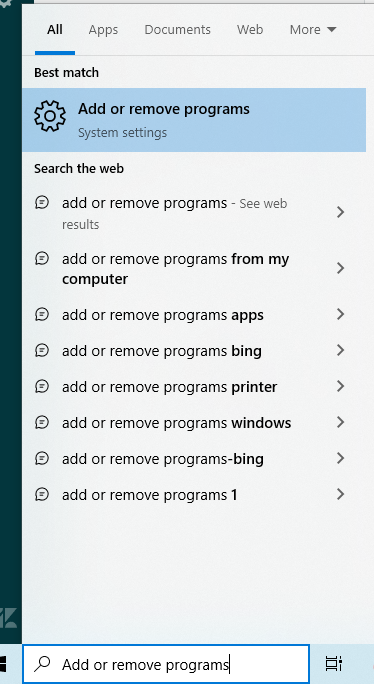
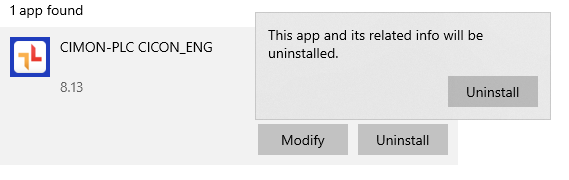
- Type "Add or remove programs" into the Windows Search bar and press enter.
- Type "CICON" into the search bar, left-click CICON, click Uninstall twice, and then follow the uninstalling procedure.
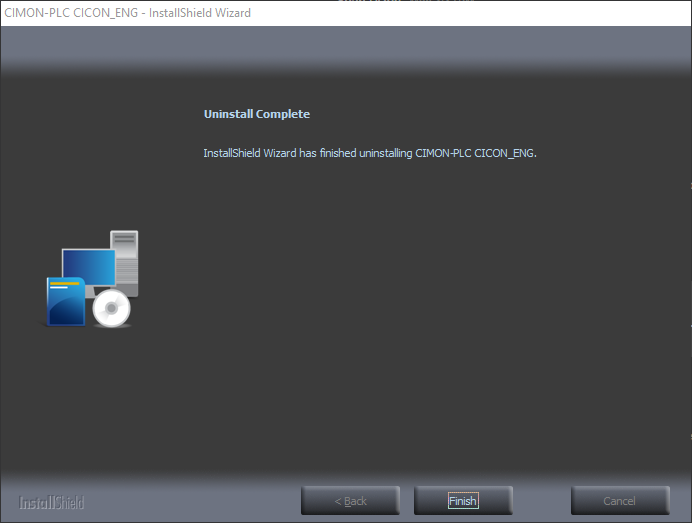
- Wait until the program is uninstalled. This process may take some time, depending on the system environment. When completed, click Finish then check for CICON to see if it was successfully removed.
Launching
CICON can be launched manually by double-clicking the application icon or automatically configuring the application to run on Windows startup.
Shortcut
-
Go to the CICON installation path. The default path is C:\CIMON\CICON_ENG. This path may differ based on the user’s system environment. Select and right-click the CICON.exe application > click Send to > Desktop (create shortcut). The shortcut icon for CICON will then appear on the desktop.
-
Double-click the CICON icon on the desktop to check if CICON opens appropriately and shows the Startup Screen. Users can select a project to continue editing if there are any saved projects from previous editing sessions.

Autorun - Windows 7 and Above Method #1
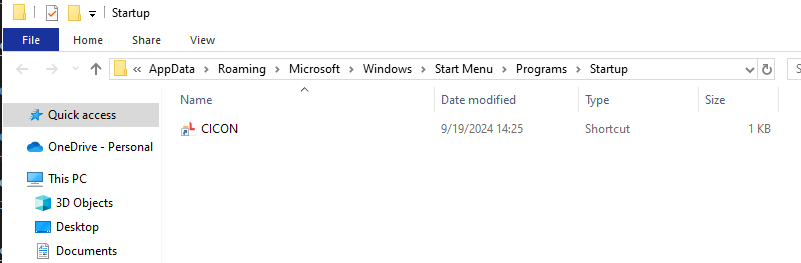
- Create a desktop shortcut. Then, either search "Run" in the Windows Search bar or press the [Windows] + [R] keys to open the Run window. Enter “shell:startup” in the search field and click OK. The same location can be accessed by typing “Startup” into the address bar of a File Explorer window.

- These options will open the Startup folder. Insert the shortcut icon for CICON into the Startup folder.
Autorun - Windows 7 and Above Method #2
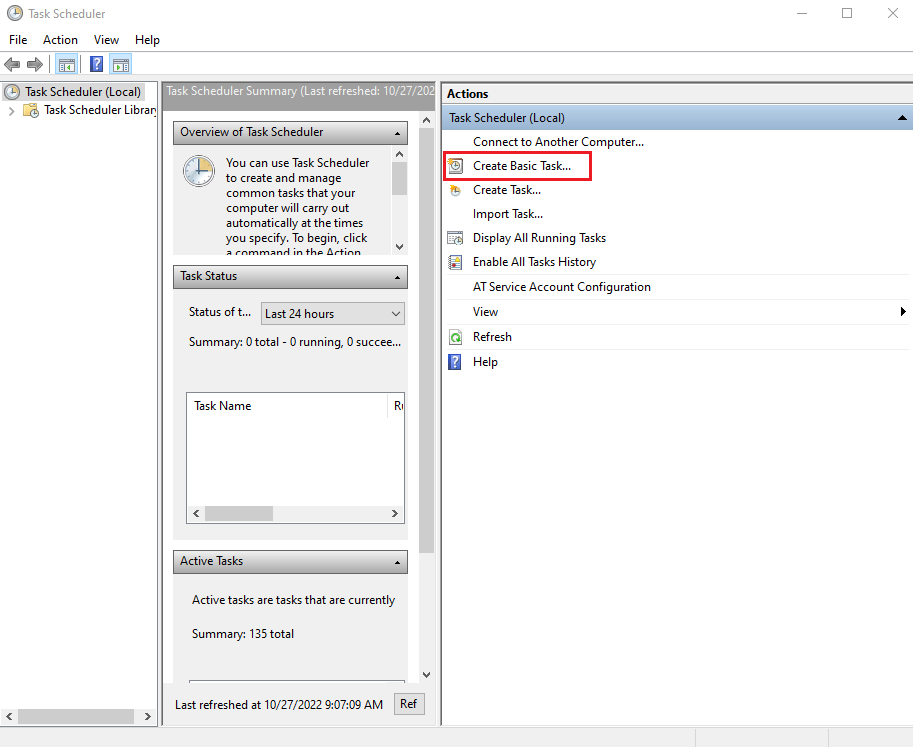
- Either open the Control Panel > click System and Security > Administrative Tools > double-click Task Scheduler.
- Or search “Task Scheduler” in the Windows Search bar and click Task Scheduler.

- Click Create Basic Task… on the upper right side of the Task Scheduler window to open the Create Basic Task Wizard window.
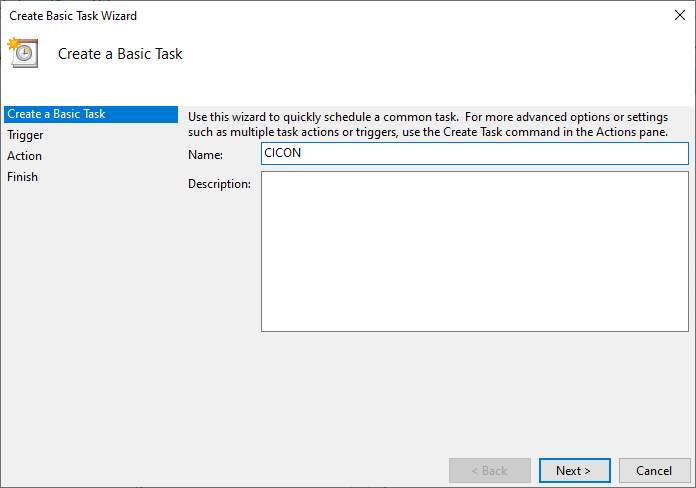
- On the Create Basic Task Wizard window in the Create a Basic Task section, type “CICON” in the name field > click Next.
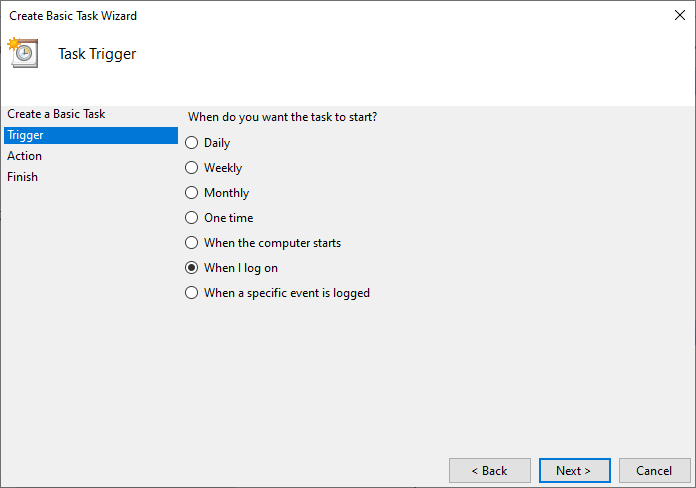
- On the Trigger section, click When I log on > Next.
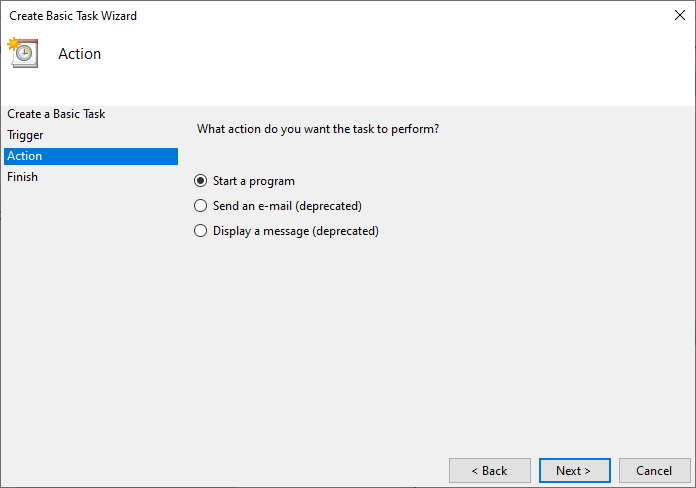
- On the Action section, click Start a program > Next.
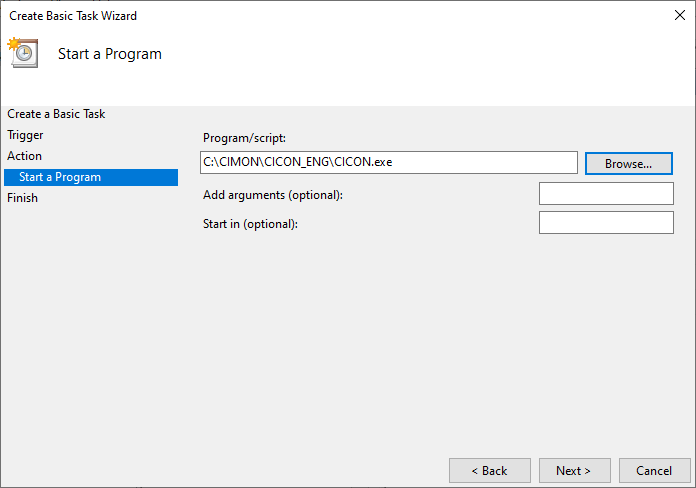
- On the Start a Program section, click Browse… > select the location of the “CICON.exe”> click Next.
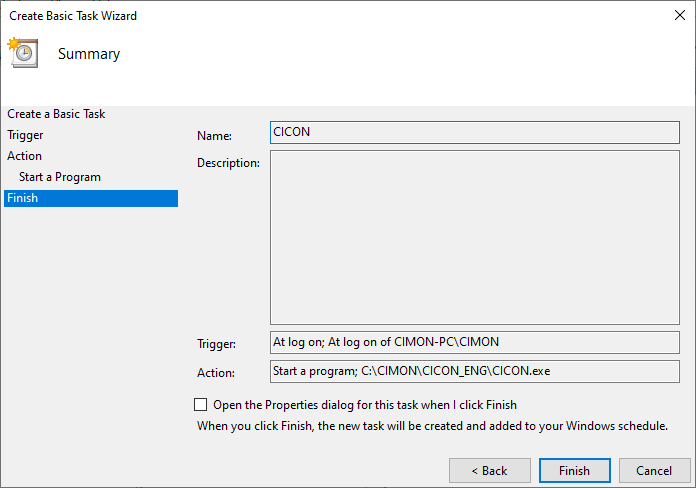
- On the Finish section, click Finish.
Termination
There are four methods to terminate the CICON program:
-
Hotkey: [Alt] + [F4].
-
Click X at the top-right corner.
-
Click File > Exit.
-
Right-click CICON on the taskbar > click Close window.
If changes to the currently opened project are not saved, the dialog box displayed to the right will appear:
