Warning
When running the CICON simulator, it only opens the UDP port.
This means no other protocol, including Modbus, CIMON HMI (PLC Protocol) (TCP), EtherNet/IP, etc., will function as expected.
CIMON Program Communication
The CICON Simulator can communicate with CIMON programs including Canvas and UltimateAccess Web.
Canvas
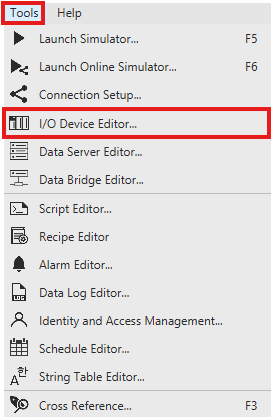
- On the menu bar, left-click Tools and left-click I/O Device Editor*.
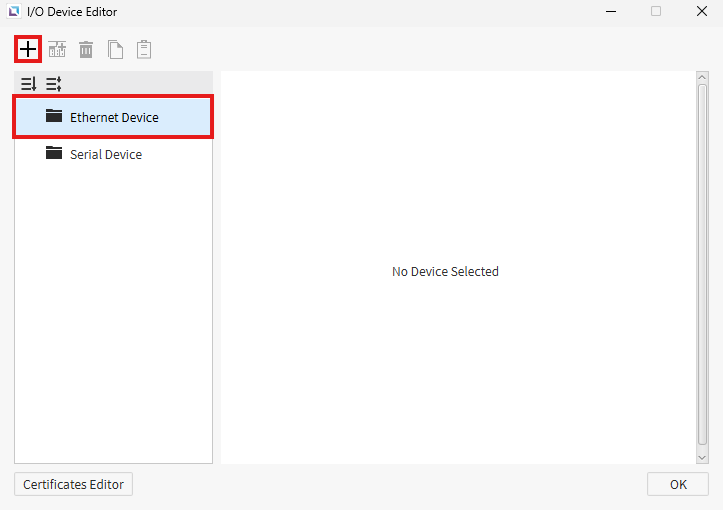
- Left-click the + (plus) icon to add a new I/O device.
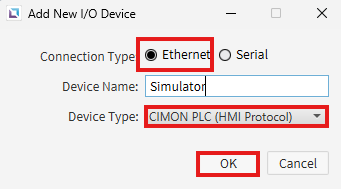
- Ensure Ethernet is selected for the Connection Type. For Device Type, use CIMON PLC (HMI Protocol).
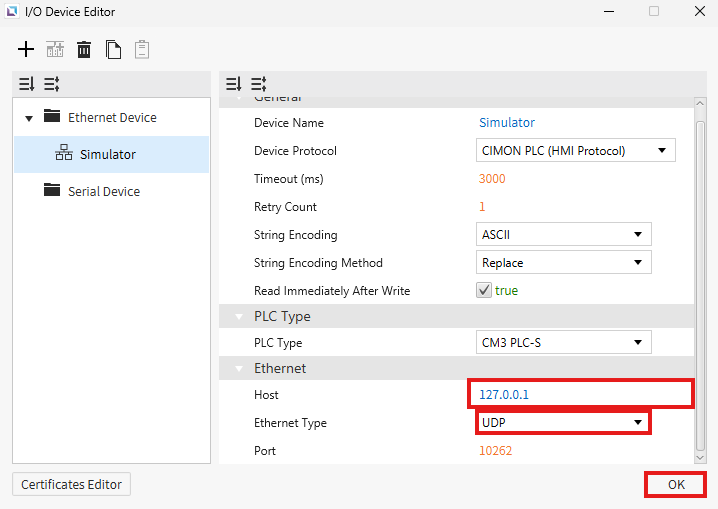
- Under Ethernet, set Host to 127.0.0.1. Change the Ethernet Type to UDP. Left-click OK.

- In the Tag Editor pane, left-click the Add tag icon.
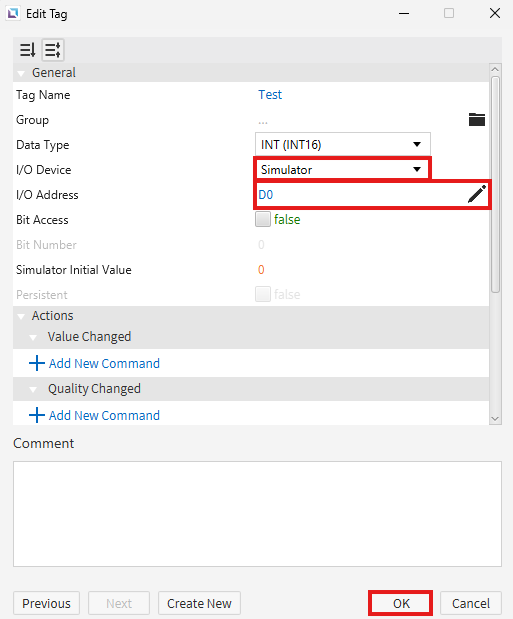
- Change the I/O Device Type to the I/O device created in step 2 and 3. Set the I/O Address to the data register to read/write. Left-click OK.

- On the menu bar, left-click Insert and left-click Label.
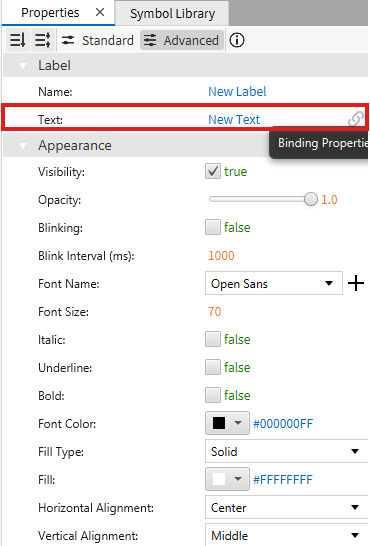
- In the Label object Properties, next to Text, left-click the Binding Properties (chain-link) icon.
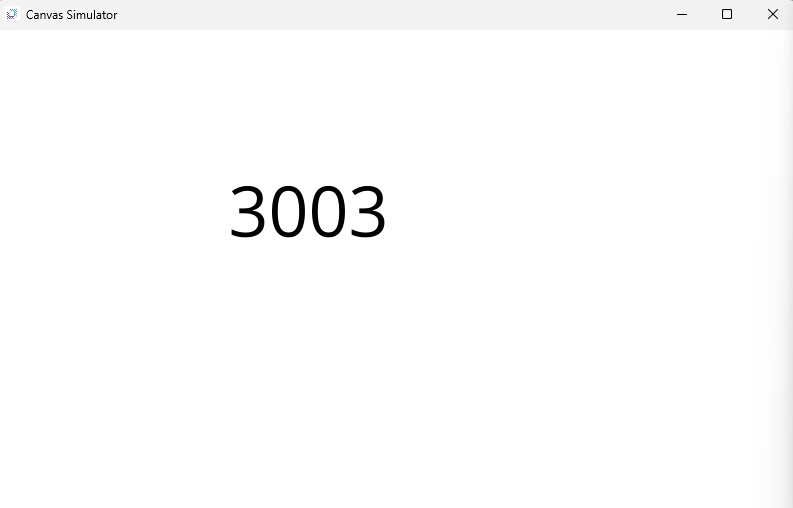
- The Canvas Simulator will display the CICON Simulator value targeted.
UltimateAccess Web

- In the Project window, left-click I/O Devices.

- Left-click New Device.
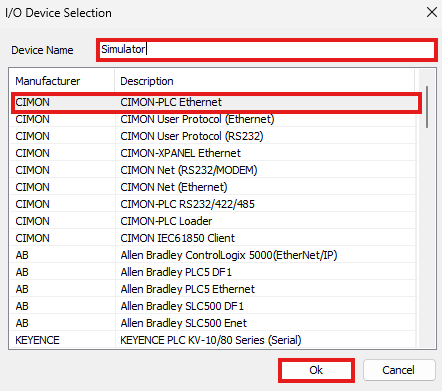
- Name the device, select CIMON-PLC Ethernet, and left-click Ok.
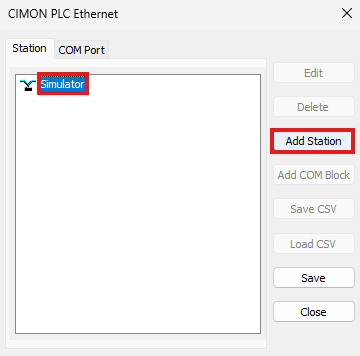
- Select the new I/O device and left-click Add Station.
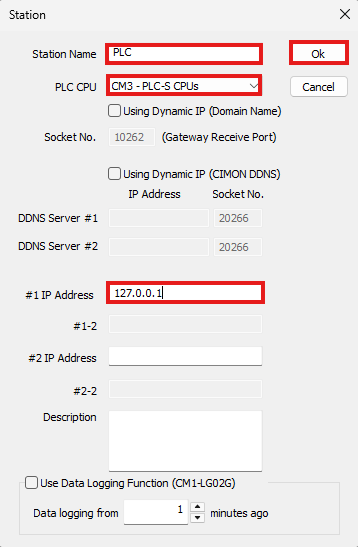
- Name the station, select the PLC CPU from the drop down, enter #1 IP Address as 127.0.0.1.
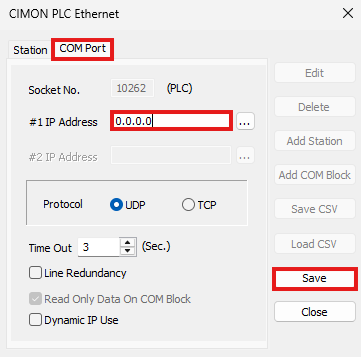
- Left-click COM Port, set the #1 IP Address to 0.0.0.0, and left-click Save.
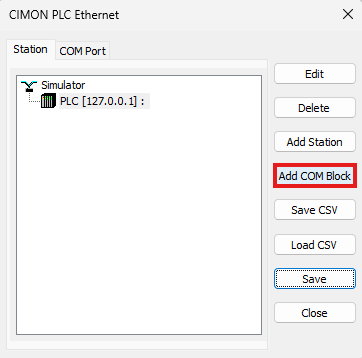
- Left-click Station and left-click Add COM Block.

- Set the amount of data registers to count from. In this example, 50 WORD data registers are counting from D0 (D0 ~ D49 are valid). Left-click OK.
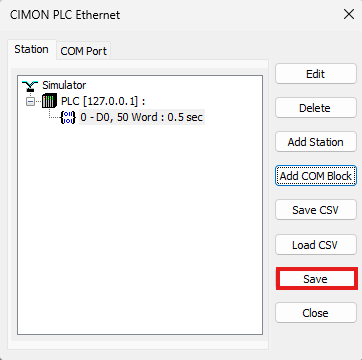
- Left-click Save.
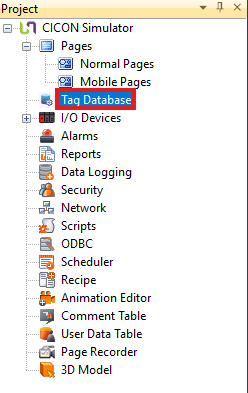
- In the Project window, left-click Tag Database.

- Left-click New Tag.
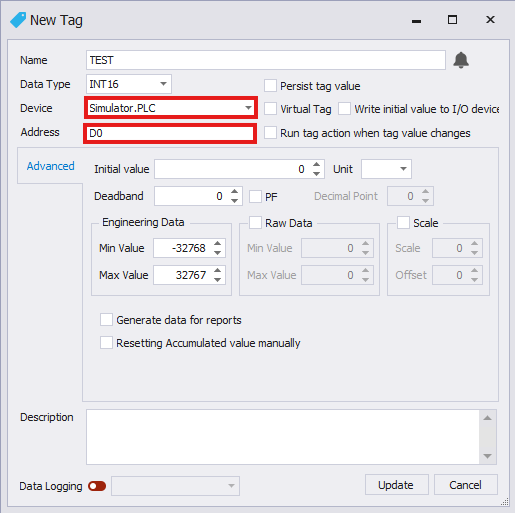
- For the Device parameter, add the new I/O device and station. For Address, add the data register address to target. Left-click Update when finished.
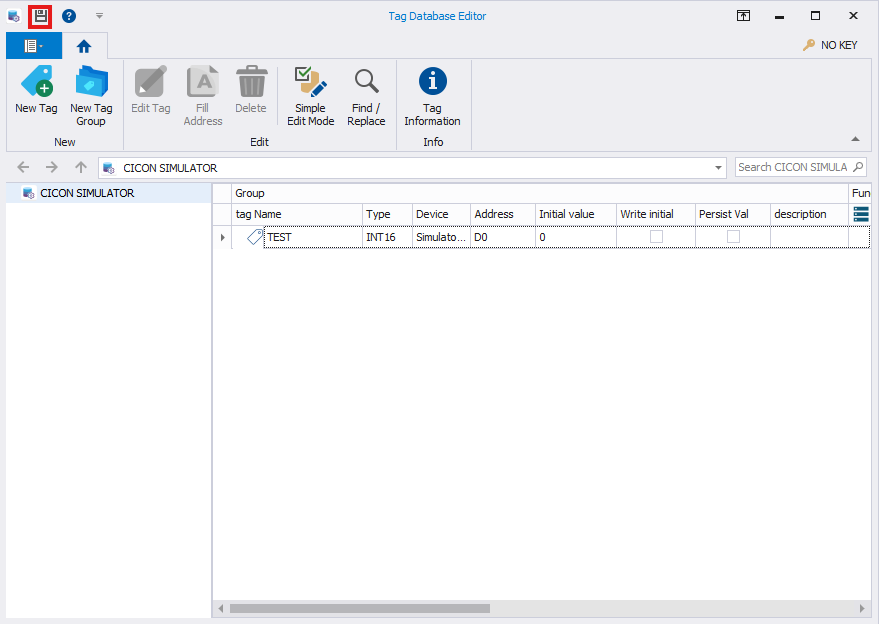
- Left-click the Save icon.

- On the menu bar, left-click Draw and left-click Tag Value(S).

- Enter the newly created tag and left-click OK.

- On the menu bar, left-click Tools and left-click UltimateAccessX Environment.
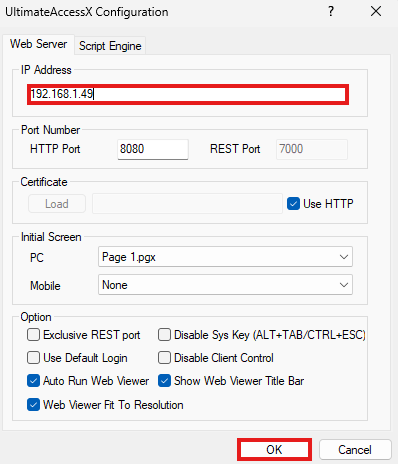
- Under IP Address, enter the IP address of the computer where UltimateAccessX will be running. Left-click OK.

- UltimateAccessX will display the CICON Simulator value targeted.