Button Exercise
Exercise: Using Momentary and Action Buttons
Button Configuration
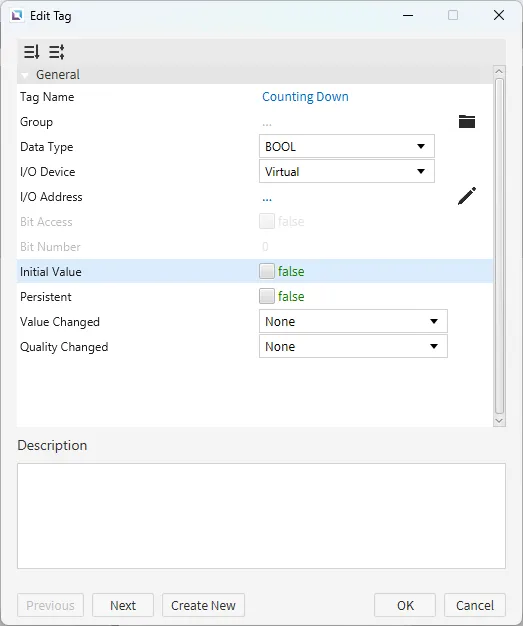
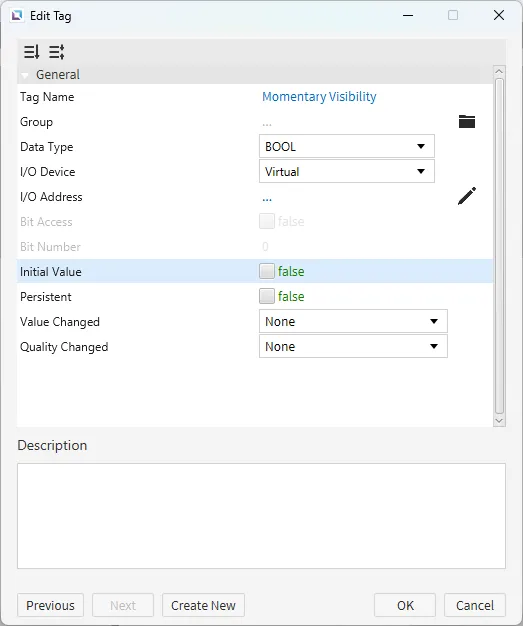
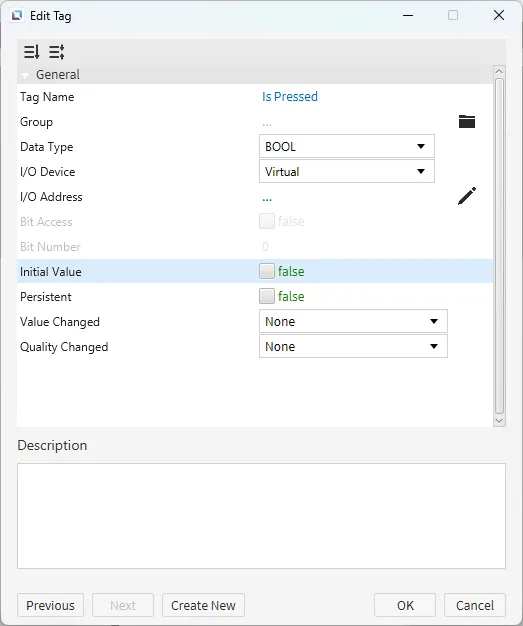
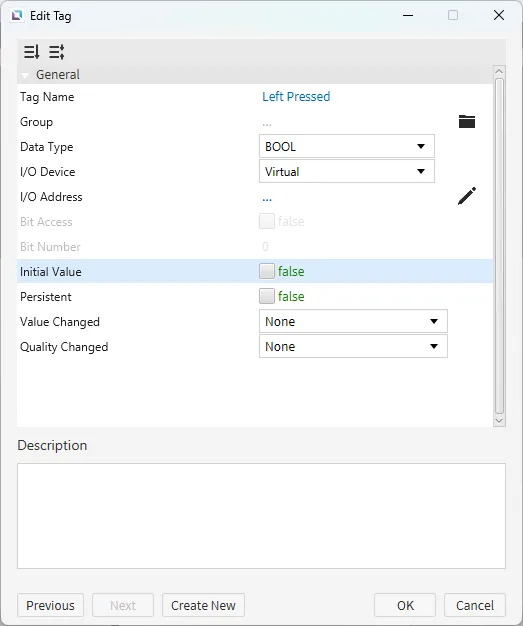
- Begin by creating 5 Tags. The tag names are "Counting Down", "Momentary Visibility", "Is Pressed", "Left Pressed", and "Right Pressed". Each tag has a BOOL data type with an initial value of false.

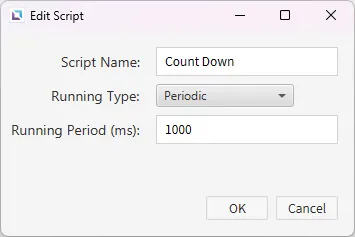
- Create a new script in the Script Editor called "Count Down". Set the running type to periodic.
- Paste the following code into the "Count Down" script.
if(tag.read("Right Pressed") || tag.read("Left Pressed") && !tag.read("Counting Down")) {

	var time = 10;
	tag.write("Counting Down", true);
	tag.write("Momentary Visibility", true);

	if (time > 0) {
	    for (time = 10; time > 0; time--) {
	        thread.sleep(1)
	    }
	}

	tag.write("Counting Down", false);
	tag.write("Momentary Visibility", false);
}- This code will be used for the objects in the next section. If either the left or right button are pressed, a 10 second timer counts down and makes another button appear.
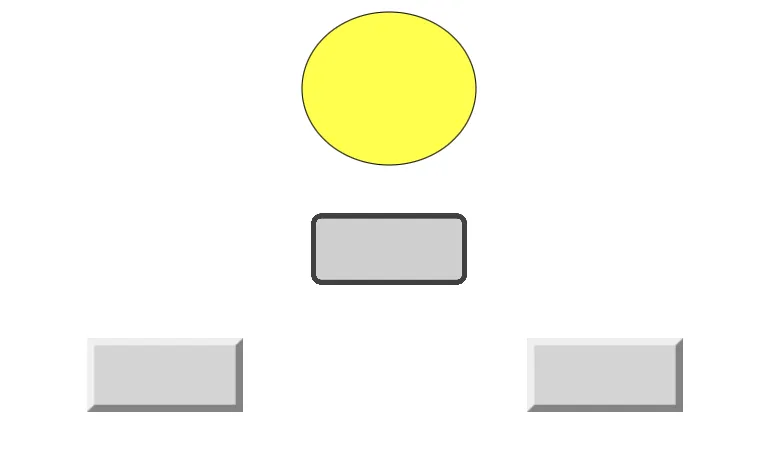
- Draw 4 objects on the screen: an ellipse, one momentary button, and two action buttons.
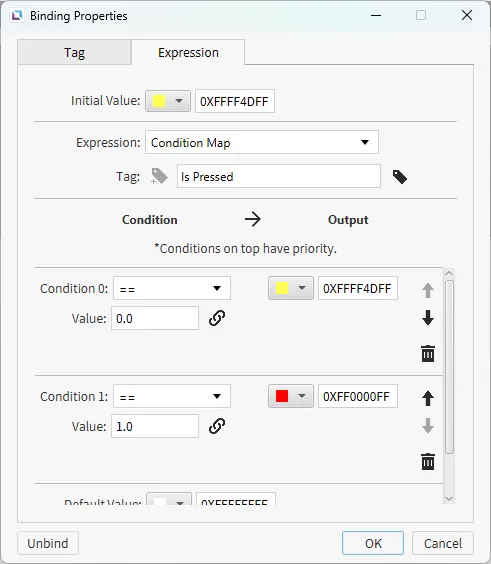
- Select the ellipse object. Change the Fill type to the below condition map:
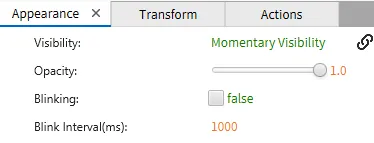
- Smart bind (drag-and-drop) the "Momentary Visibility" tag onto the momentary button.
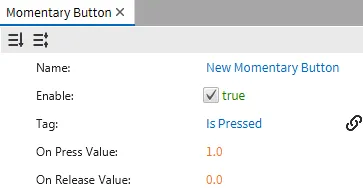
- Under the Visibility option of the momentary button, bind the "Is Pressed" tag to it.
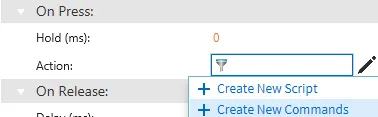
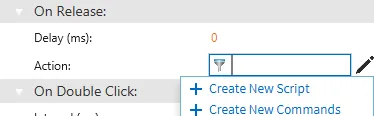
- For the left and right action buttons, go to Action, On Press, and select Create New Commands.
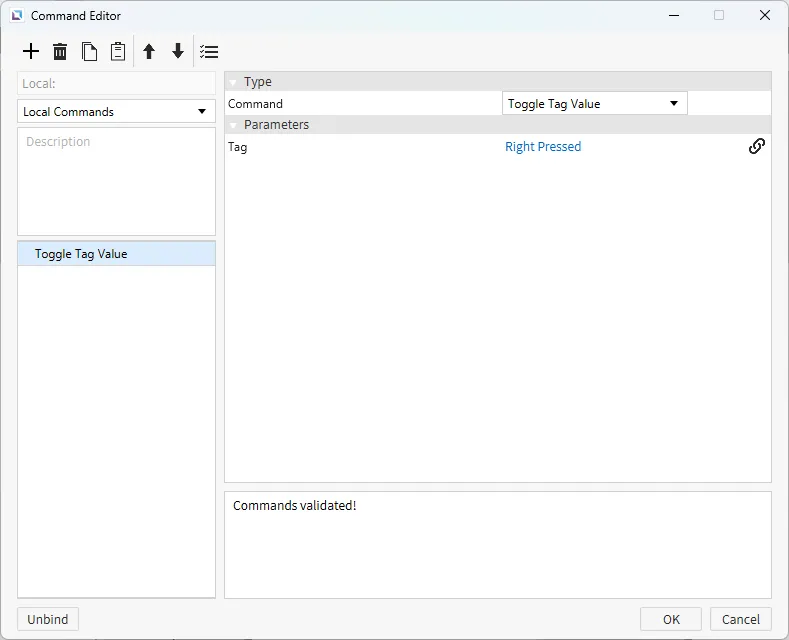
- Add a new command and select Toggle Tag Value.
- For the left action button, bind the "Left Pressed" tag to the command.
- For the right action button, bind the "Right Pressed" tag to the command.

- Repeat steps 7 and 8 for the On Release option of both the left and right action buttons.
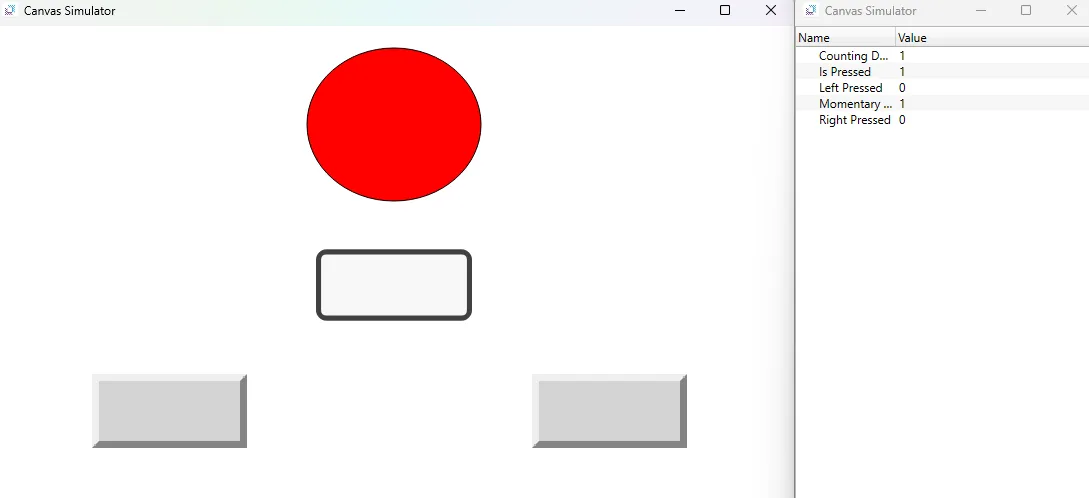
Button Runtime
- Open the Canvas Simulator and test the project.
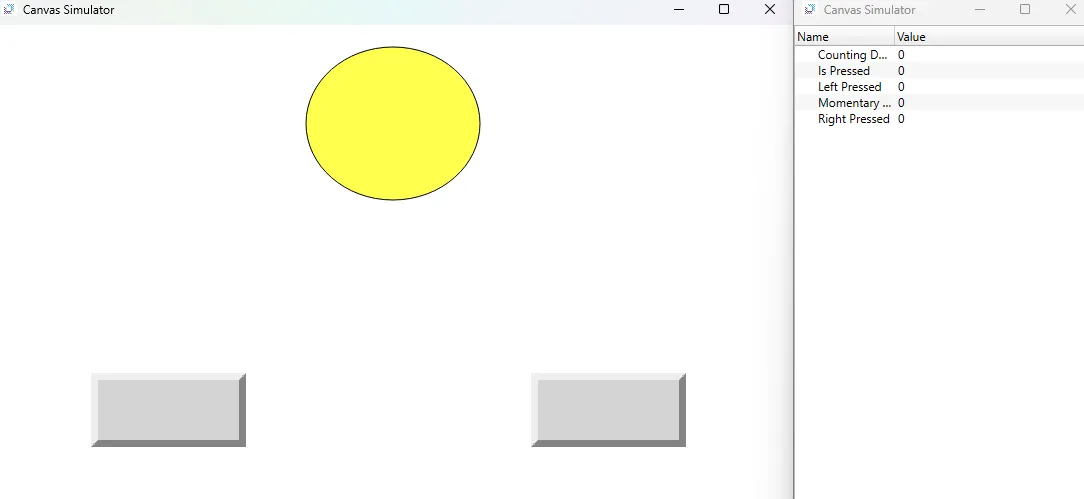
- Press either the left or right action button.
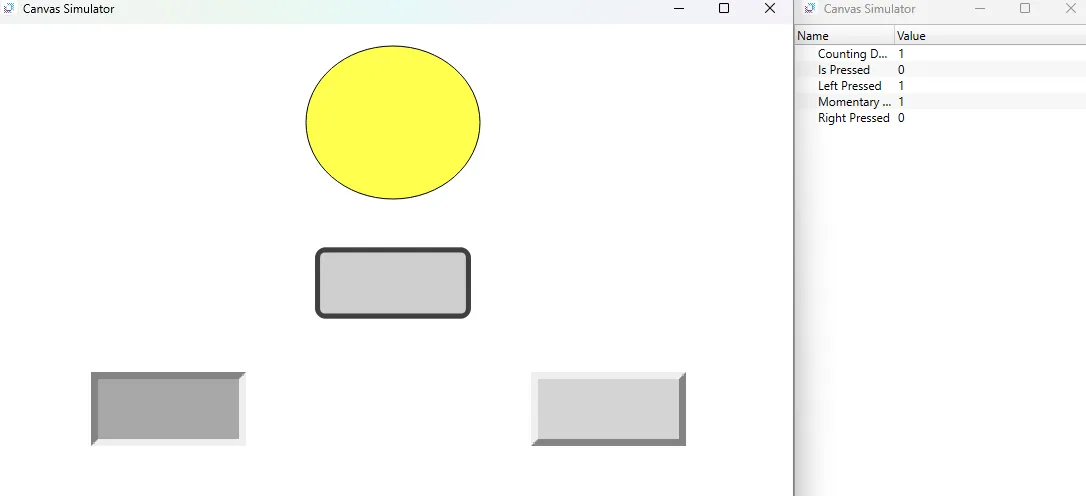
- Press the momentary button that appears. The ellipse should now turn red.