Drawing Object Exercise
Exercise: Drawing Object Demonstration
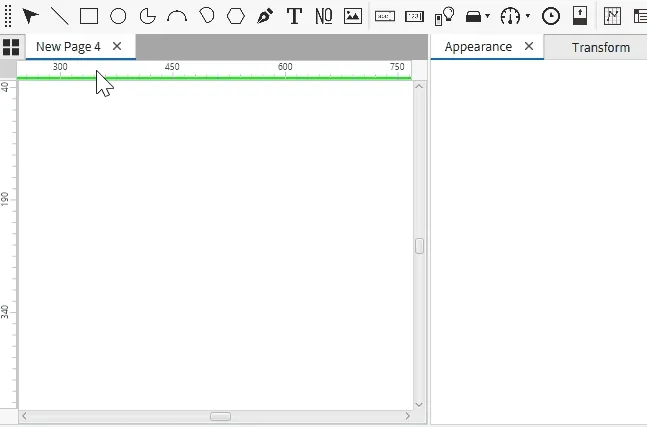
Line Drawing Object
Line tool can be stretched to create vertical, horizontal, or diagonal lines or locked in place by holding the Shift key. Users can select the line tool from the toolbar or the Insert menu. They can rotate 360 degrees and be flipped both vertically and horizontally. Additionally, line thickness and color can be customized for various design purposes.
Rectangle Drawing Object
The rectangle object allows users to create squares or rectangles by selecting the rectangle tool from the toolbar or using the Insert menu. To make a perfect square, hold the Shift key while dragging the mouse; releasing the Shift key will allow users to freely adjust the rectangle's height and width. The rectangle can rotate 360 degrees, and users can flip it vertically or horizontally. The appearance can be customized by changing its fill color and border thickness, as seen in the properties panel.
Ellipse Drawing Object
An ellipse object enables users to create ellipses or circles by selecting the ellipse tool from the toolbar or the Insert menu. To draw a perfect circle, hold the Shift key while dragging the mouse; releasing the Shift key allows users to freely adjust the ellipse’s height and width. The ellipse can rotate 360 degrees and be flipped vertically and horizontally. Users can customize the appearance by modifying the fill color, stroke width (ranging from 1 to 10), stroke color, and stroke type, all accessible in the appearance panel for enhanced design flexibility.

Pie Drawing Object
The pie object allows users to create circular sectors or portions by selecting the pie tool from the toolbar or the Insert menu. To draw a perfectly proportioned pie with equal height and width, hold the Shift key while dragging the mouse. Releasing the Shift key allows users to adjust the pie's dimensions as desired. The pie can be rotated 360 degrees and flipped both vertically and horizontally. Users can modify the start and arc angles by dragging the yellow dot on the pie object. Additionally, the appearance can be customized by adjusting the fill color, stroke width (from 1 to 10), stroke color, and stroke type, all available in the appearance panel to enhance design customization.
Arc Drawing Object
The arc tool enables users to create curved circle segments by choosing the arc option from the toolbar or Insert menu. To draw a symmetrical arc, hold the Shift key while dragging. Once the Shift key is released, users can freely adjust the arc’s size as needed. The arc can be rotated 360 degrees and flipped vertically or horizontally. The start and arc angles can be fine-tuned by dragging the yellow handle on the arc object. Additionally, users can customize the arc's thickness and color.

Chord Drawing Object
The chord object draws a straight line between two points on a circle's circumference, accessible by selecting the chord tool from the toolbar or Insert menu. Hold the Shift key while dragging the mouse to create a chord with equal dimensions. Releasing the Shift key allows for flexible adjustment of the chord's size. It can be rotated 360 degrees and flipped vertically or horizontally. Users can adjust the start and arc angles by dragging the yellow dot on the chord object. Additionally, its appearance can be customized by modifying the fill color, stroke width (ranging from 1 to 10), stroke color, and stroke type.

Polygon Drawing Object
The polygon tool enables users to set the number of sides, ranging from 3 to 20, and adjust the shape's height and width by selecting it from the toolbar or Insert menu. To create a polygon with uniform dimensions, hold the Shift key while dragging; releasing the Shift key allows for flexible adjustment of the polygon’s size. The shape can be rotated 360 degrees and flipped vertically or horizontally. Users can customize its appearance by altering the fill color and border thickness through the properties panel.

Polyline Drawing Object
The polyline tool allows users to draw a series of connected lines without a limit on the number of segments by selecting it from the toolbar or Insert menu. To create a polyline object with uniform dimensions, hold the Shift key while drawing; releasing the Shift key lets users freely adjust the object’s size. The polyline object can be rotated 360 degrees and flipped either vertically or horizontally. Users can personalize its appearance by modifying the fill color and border thickness via the properties panel.