Sparkline Exercise
Exercise: Using Sparkline
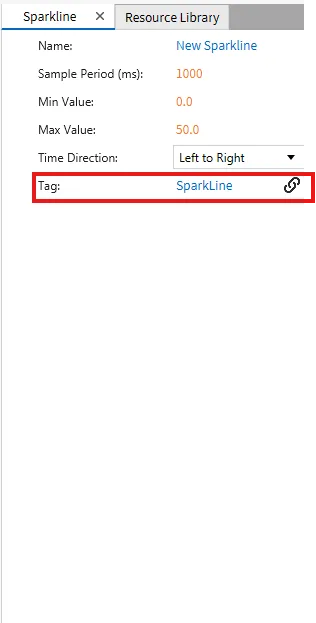
Sparkline Configuration
- Begin by creating 3 tags in total. Left Button will be a BOOL Tag, Right Button will be a BOOL Tag and SparkLine will be an Int Tag.


- Create a new script in the Script Editor called "Left Button" and "Right Button". Set the running type to periodic.

- Paste the following code into the "Right Button" script.
while (1) {
	if (tag.read("Right Button")){
		tag.write("SparkLine", tag.read("SparkLine") + 1);
	}
	thread.msleep(50)
}- Paste the following code into the "Left Button" script.
while (1) {
	if (tag.read("Left Button")){
		tag.write("SparkLine", tag.read("SparkLine") - 1);
	}
	thread.msleep(50)
}- This code will be used for the objects in the next section. If either the left or right button are pressed and held down it'll cause the Sparkline to move either up or down depending on which arrow is pressed.
- Draw 4 objects on the screen: The Sparkline, two Vector arrows pointing left and right, and a numeric text field.
![]()


- Smart bind (drag-and-drop) the "SparkLine" to the sparkline table created. Bind the "SparkLine" tag to the Numeric Field as well to see the numbers adjusting.

- For the left and right Vector images, go to Action, On Press, and select Create New Commands.

-
Add a new command and select "Set Tag Value."
- For the left Vector Image, bind the "Left Button" tag to the command.

- For the right Vector Image, bind the "Right Button" tag to the command.

- For the left Vector Image, bind the "Left Button" tag to the command.
-
For the left and right Vector images, go to Action, On Release, and select create new commands.
- For the left Vector Image, bind the "Left Button" tag to the command.

- For the Right Vector Image, bind the "Right Button" tag to the command.

- For the left Vector Image, bind the "Left Button" tag to the command.
Sparkline Runtime
-
Open the Canvas Simulator and test the project.
-
Press either the left or right arrow buttons.
-
Should have a similar result to the Gif down below.
