Radio Button Group Exercise
Exercise: Creating a Fill Amount Selection
Tags
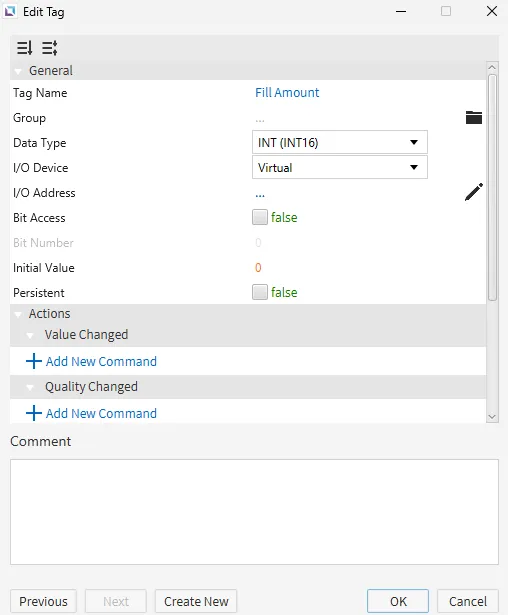
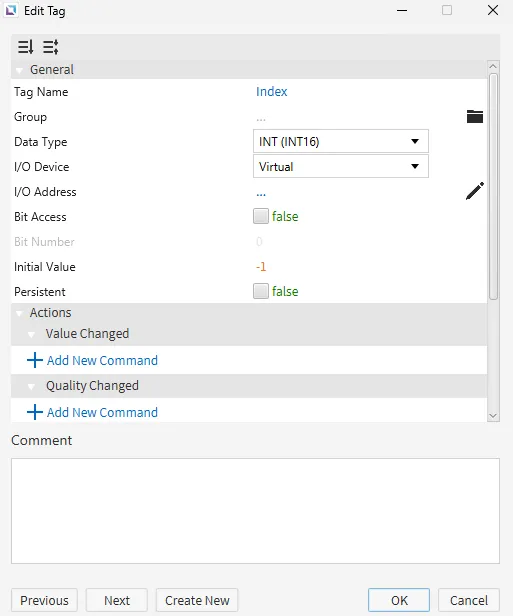
This example uses two tags. The first tag will be named Fill Amount with the data type set to INT (INT16). The second tag will be named Index with the data type set to INT (INT16) and the initial value set to -1.
Script
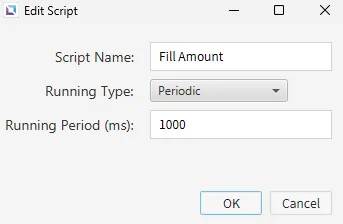
This example utilizes the Script Editor. Create a script named Fill Amount with the Running Type set to Periodic.
Check Price Code::
switch (tag.read("Index")) {
	case 0:
		tag.write("Fill Amount", 0);
		break;

	case 1:
		tag.write("Fill Amount", 25);
		break;

	case 2:
		tag.write("Fill Amount", 50);
		break;

	case 3:
		tag.write("Fill Amount", 75);
		break;

	case 4:
		tag.write("Fill Amount", 100);
		break;

	default:
		tag.write("Fill Amount", 0);
		break;
}
This script checks if the Index tag is NOT -1 and writes the corresponding fill amount from the radio button group to the Fill Amount tag.
Project Setup
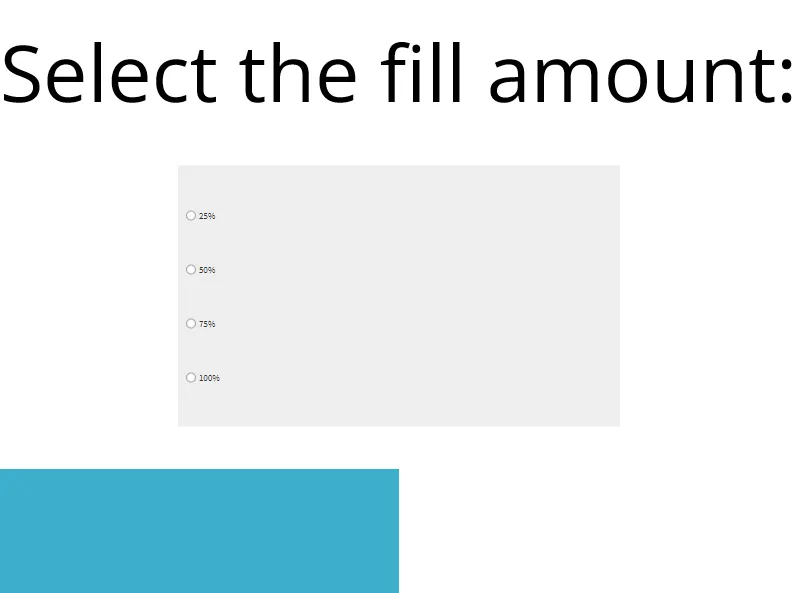
Set up the project to look like the below image. The project utilizes a label object, radio button group, and fillable rectangle.
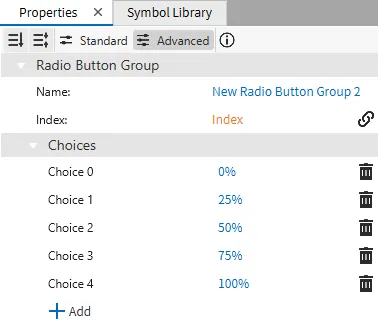
Radio Button Group
For the radio button group object, bind the Index tag to the Index field. Add five choices: 0%, 25%, 50%, 75%, and 100%. These correspond to the fill amount.
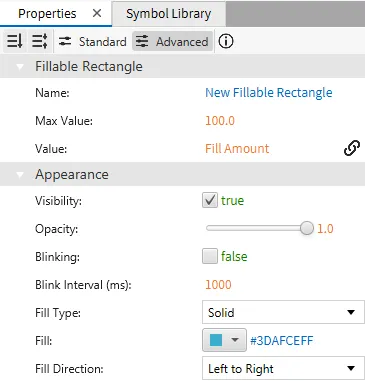
Fillable Rectangle
This example also utilizes the Fillable Rectangle. Create a new Fillable Rectangle. Set the Fill Direction to Left to Right. Bind the Fill Amount tag to the Value Field.
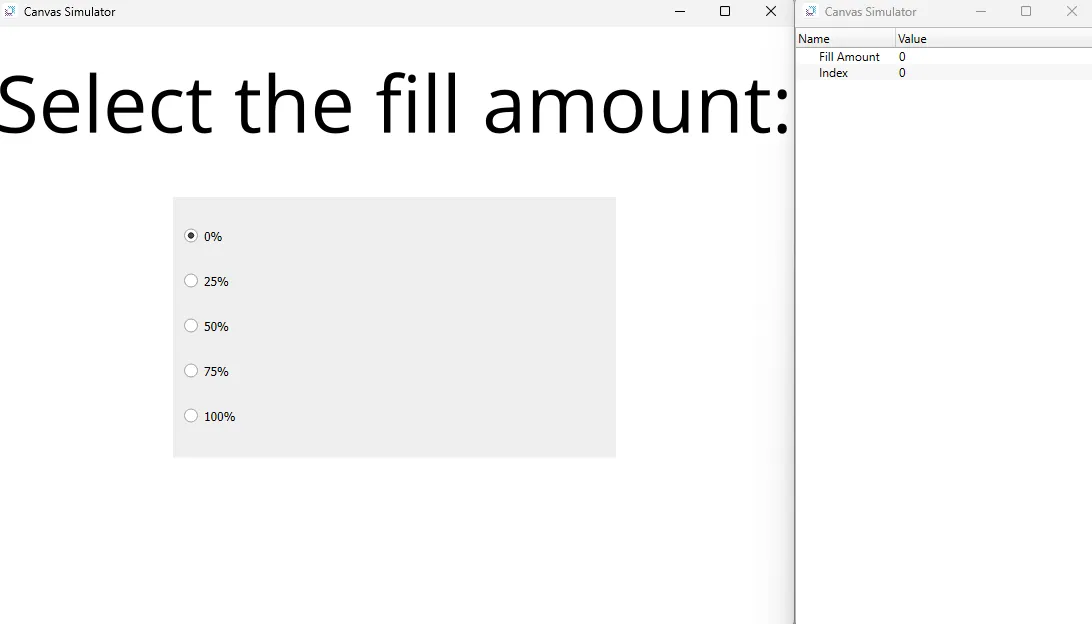
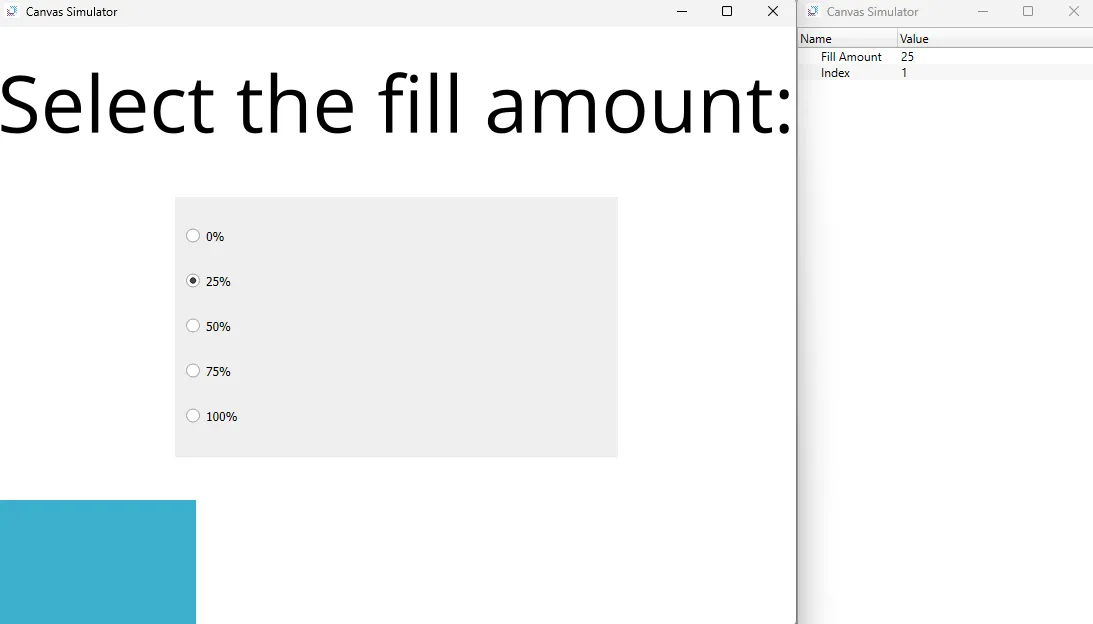
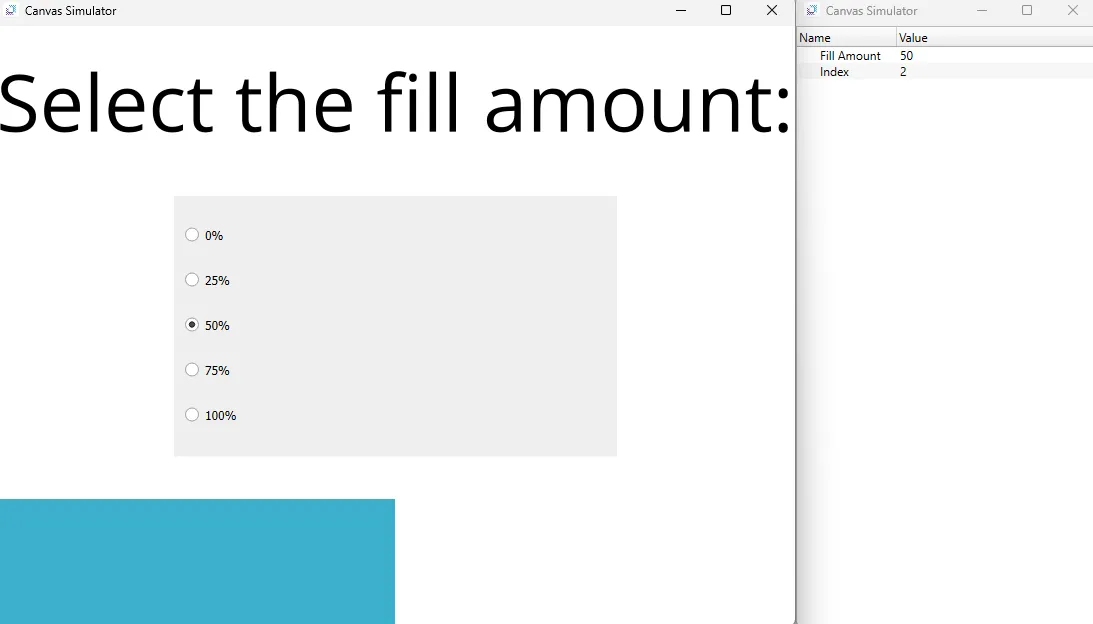
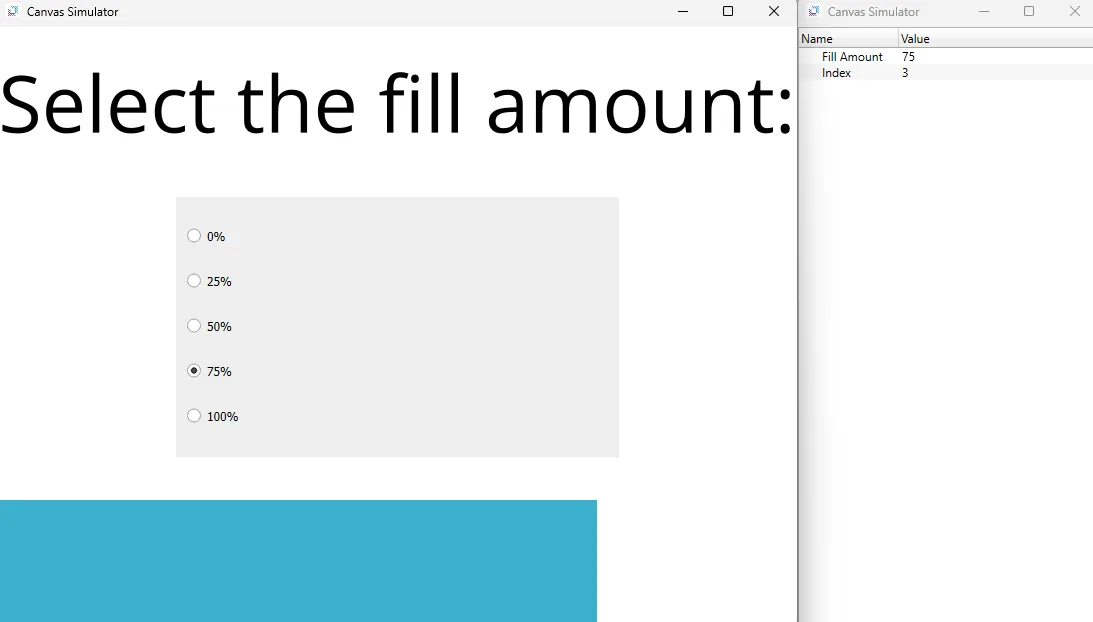
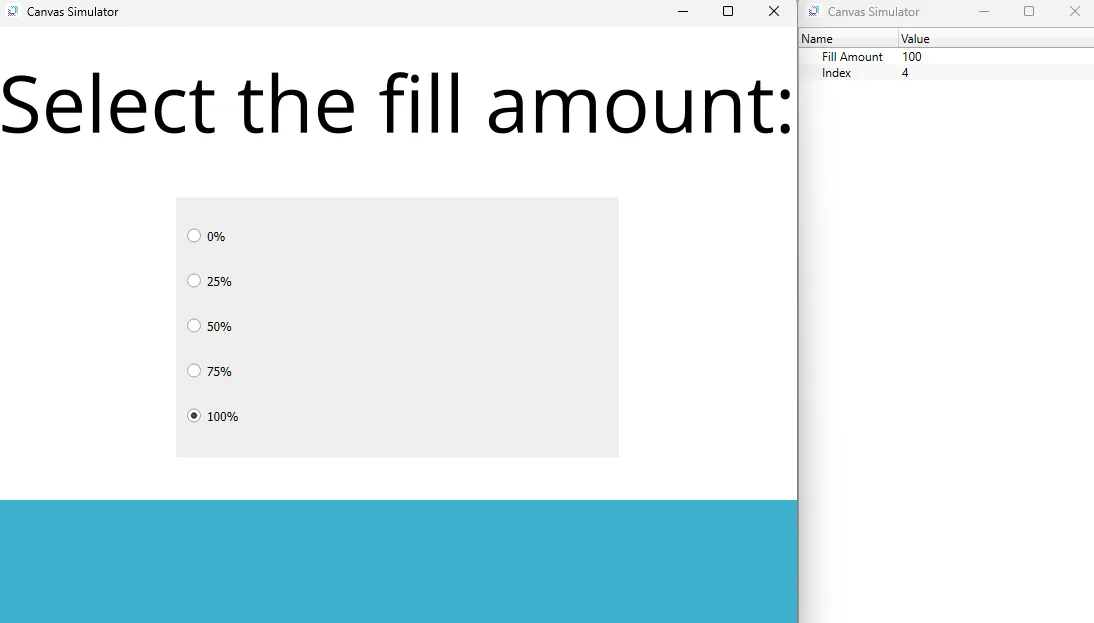
Simulator
To test the exercise, open the Simulator.
In the radio button group, select a fill amount. The fillable rectangle will fill based on the item selected.