Project Basics
Project Basics
Startup Screen
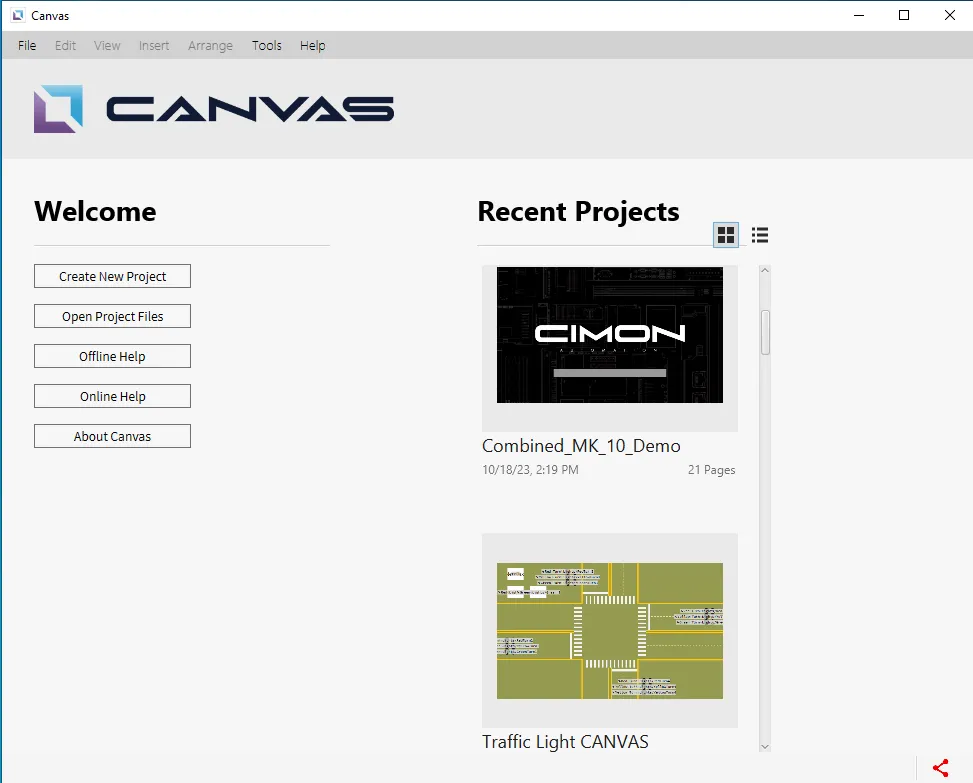
The image below shows Canvas' Startup Screen, where users can create or open projects, view the offline and online help files, and view the current Canvas versions. Users can select a project to continue editing if there are any saved projects from previous editing sessions.
Project Modification
Creating a Project
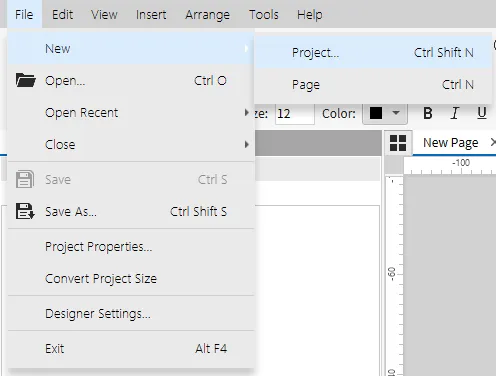
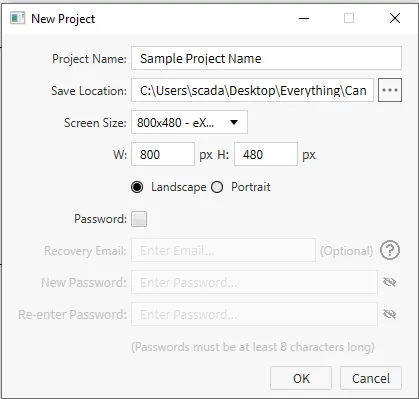
To create a project, click File > New > Project, press the hotkey [Ctrl] + [Shift] + [N], or click Create New Project on the Startup Screen. This will bring up the New Project pop-up window shown in the second image below, where users can set the desired project properties. The window automatically populates with the defaults of “Sample Project Name” for the Project Name field, the most recent location a project was created at for the Save Location field, and 800x480 for the Screen Size field.
In this window, users can choose between Landscape and Portrait modes and set a password to open the project.
Opening a Project
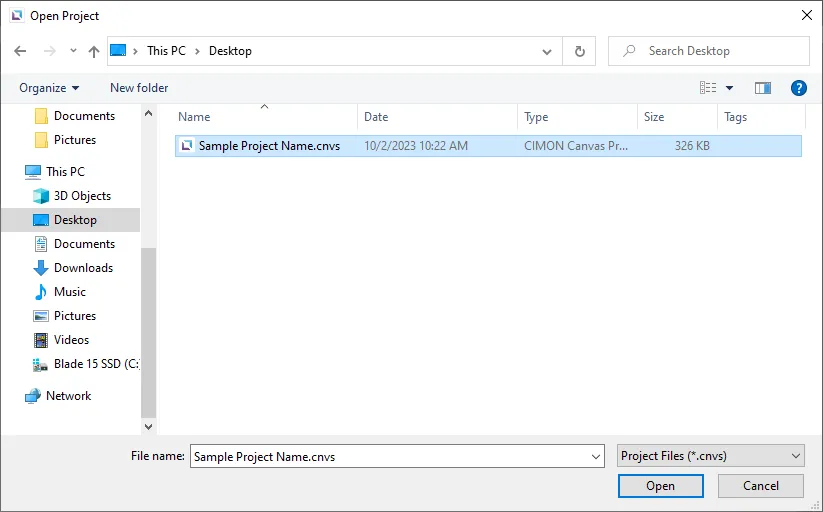
To open a project, click File > Open…, press the hotkey [Ctrl] + [O], click the Open Project… (Ctrl O) icon on the toolbar, or click Open Project Files on the Startup Screen. Only project files with the “.cnvs” formats can be opened.
When the user selects a project file and clicks Open, the last-edited version of that project will be launched. If a project is currently opened, the project will automatically close.
Projects created using the newer versions of CIMON Canvas cannot be executed using an older version.
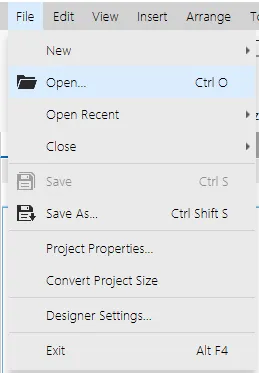
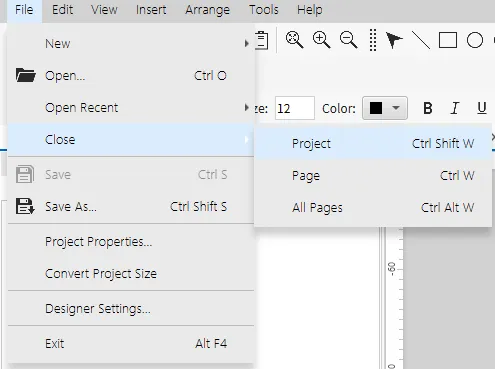
Closing a Project
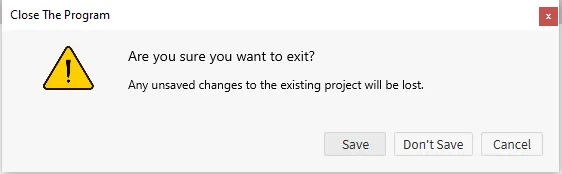
To close a project, click File > Close > Project, press the hotkey [Ctrl] + [Shift] + [W], or terminate Canvas. If changes to the currently opened project are not saved, the dialog box displayed in the second image below will appear:
The project closing time will vary depending on the system environment and the project size. If Canvas is not terminated when closing a project, it will return to the Startup Screen.
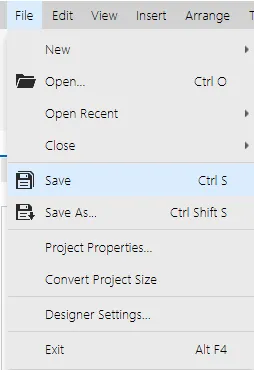
Saving a Project
To save a project's current status, click File > Save, press the hotkey [Ctrl] + [S], or click the Save (Ctrl S) icon on the toolbar. The project saving time will vary depending on the system environment and the project size.
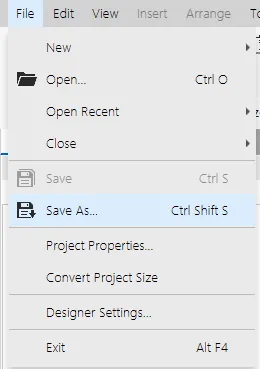
Copying a Project
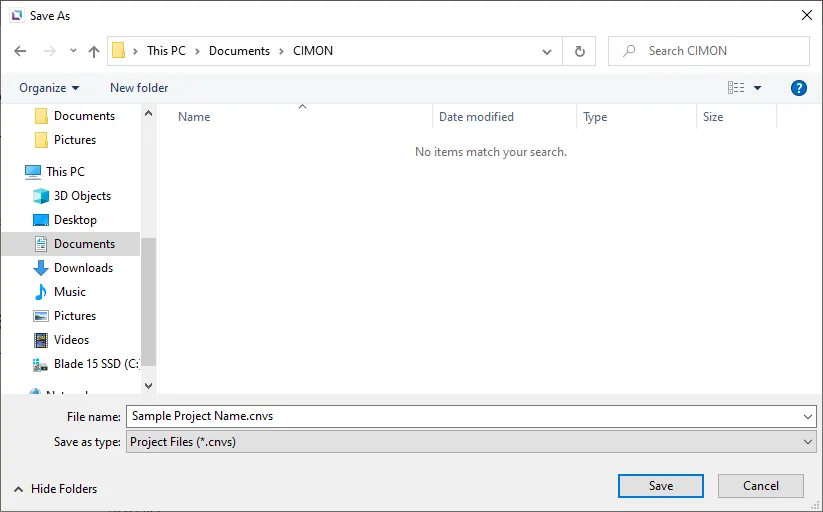
To copy a project, open the project and click File > Save As, press the hotkey [Ctrl] + [Shift] + [S], or click the Save As… (Ctrl Shift S) icon on the toolbar. This will open a pop-up window where the user can define a name for the copy of the project file and select a location to save the file. After designating a name and location, the original project will maintain its name and file location, and a new file will be created.
The file can only be saved in “.cnvs” format, and the name cannot be duplicated with other project folders in the same path.
If you are naming the page in CIMON Canvas using an unsupported font style, a symbol may appear instead of a character, which could cause the project to malfunction.
Recent Projects
If a project has been recently edited, it can be found on the Startup Page under Recent Projects or by going to File > Open Recent and opening it by left-clicking. Up to the last 16 edited projects will be shown at both locations. If a project was built in a higher version, it cannot be opened. Additionally, if a project's path has been changed, the project's new location will not appear in the recent project sections.

Project Properties
The Project Properties window has most of the customizable options for a user's project. The image below displays all of the fields and checkboxes available in the Project Properties window:
Users can set a recovery email, change the project password, customize pages, change runtime options, change identity and access management options, change audit log options, set up email settings, including SMTP Properties, and set up remote page control.
To proceed with a recovery process, please contact CIMON Technical Support at support@cimoninc.com or 702-820-1060.
Disclaimer: If access to the recovery email is lost, CIMON will not continue the recovery process with any other email.

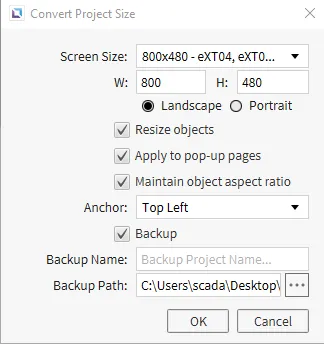
Convert Project Size
The Convert Project Size window allows users to change a project's set size to another size. Users can select width and height, resize objects when converting, and create a backup project.
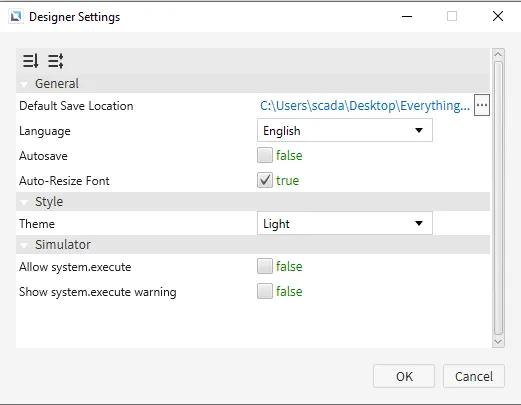
Designer Settings
The Designer Settings window allows users to change the default save location until it is updated by the most recent save, language, autosaving functionality, auto font-resizing, theme, and system.execute options in the Simulator.
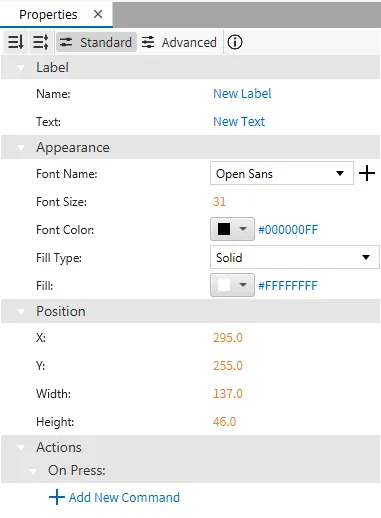
General Properties
Provides ways to modify all of the user's objects.
To ensure the property windows are enabled, click View > Properties and check the box.
Some fields can be bound to a tag. When hovering over a field, tag-binding may be used if a chain-link icon appears on the right side.
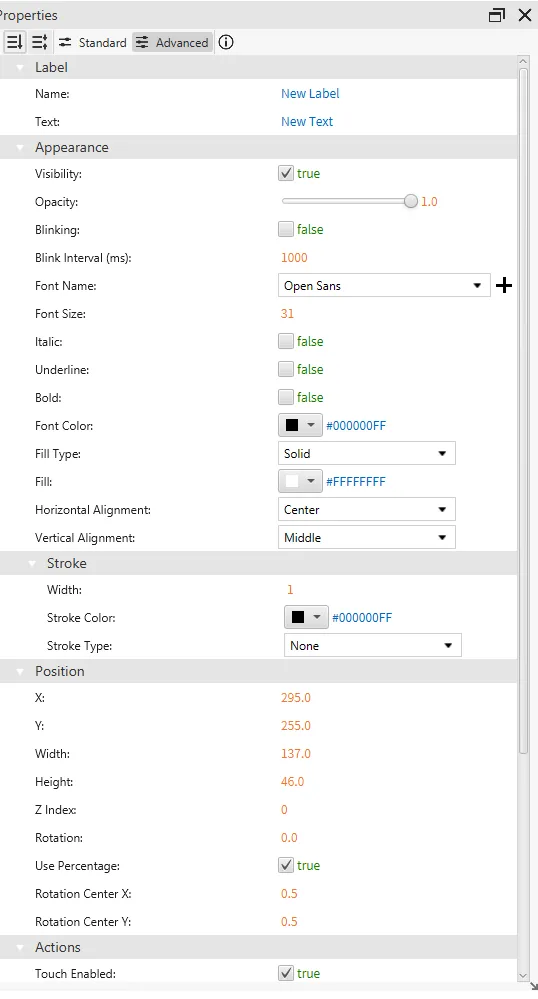
There are two viewing options: Standard and Advanced.

Standard View
The Standard properties view includes basic property information for an object.
The Standard view will display the Basic Properties, Appearance, Position, and Actions.
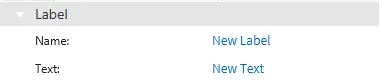
Basic Properties
The Basic Properties option displays the object's type and name. Some objects may display more properties depending on their type.
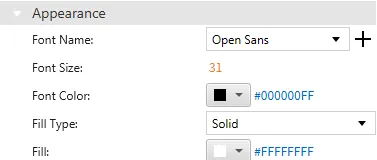
Appearance
The Appearance option enables the use of colors and selections to alter visible characteristics.
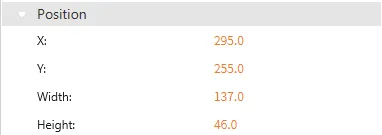
Position
The Position option provides adjustable properties that reshape or move the object.
Each object's Position option is the same. Users will find fields that control x and y coordinates, width, and height.
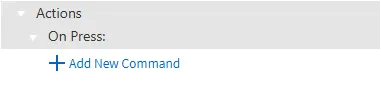
Actions
The Actions section allows users to add commands or scripts to an object activated when pressing it (On Press).
Some objects do not have applicable actions, but if an object does, the Actions section will be the same, except for the Text Field and Numeric Field.
Advanced View
The Advanced properties view includes more property information for an object.
Basic Properties
The Basic Properties option displays the object's type and name. Some objects may display more properties depending on their type.
Appearance
The Appearance option enables the use of colors and selections to alter visible characteristics. It also includes more options such as visibility, opacity, blinking, and the stroke option.
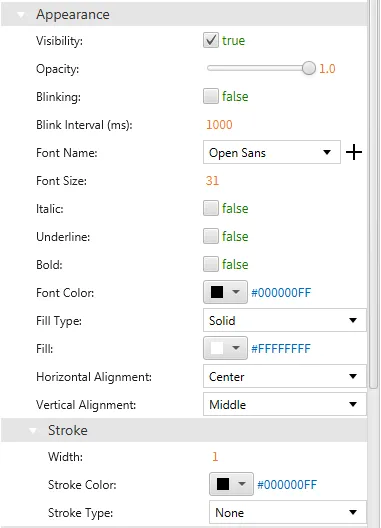
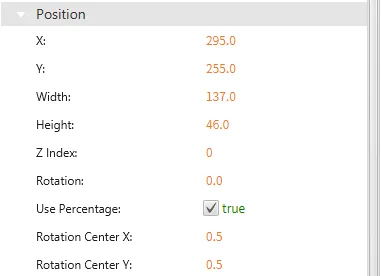
Position
The Position option provides adjustable properties that reshape or move the object.
Each object's Position option is the same. Users will find fields that control x and y coordinates, width, and height. It also includes more options such as z index, rotation and the rotation center for the X and Y coordinates.
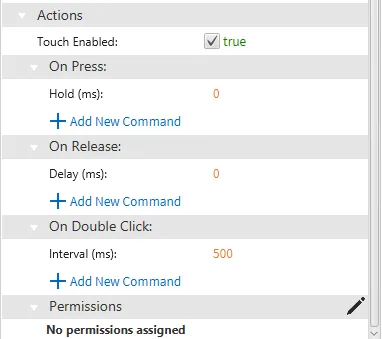
Actions
The Actions section allows users to add commands or scripts to an object activated when pressing it (On Press). It also includes options for releasing the press (On Release) and double-clicking the object (On Double Click). Identity and Access Management (IAM) can be bound to an object with the Permissions option.
Some objects do not have applicable actions, but if an object does, the Actions section will be the same, except for the Text Field and Numeric Field.
Pane Relocation
Most panes in Canvas can be relocated. Panes can be fixed or float freely in the designer.
To move a pane, click and drag the pane away from it's current position.
Fixed
To fix a pane to a location, drag it next to another pane and drop it.
Float
To make a pane float, drag it from its location and drop it in the designer.
To make a floating pane fixed, in the pane window, click the window icon next to the X icon.
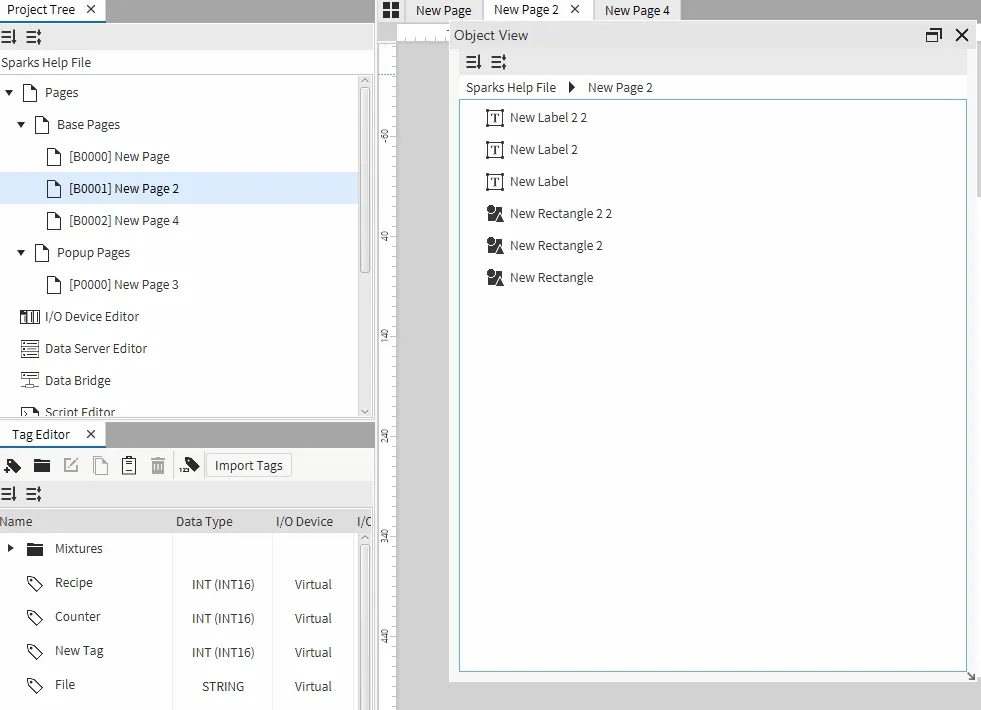
Project Tree
Click View > Project Tree and check the checkbox to enable the Project Tree. The Project Tree is a window that exhibits all base and popup pages and quick shortcuts to different editor menus.
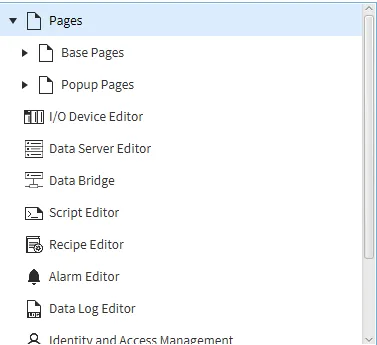
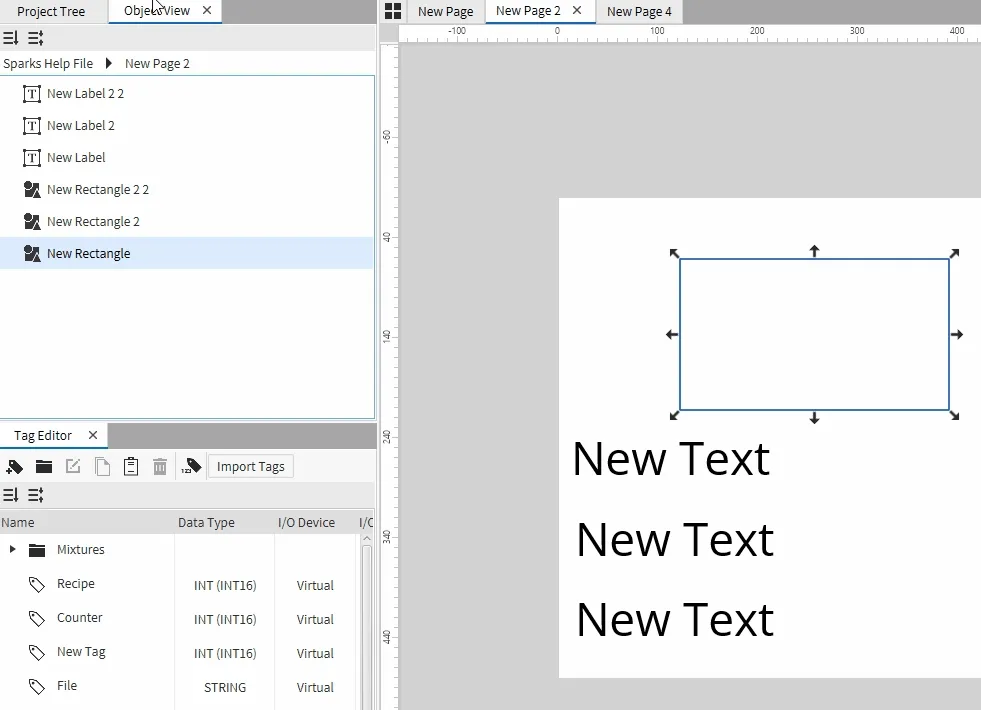
Object View
Click View > Object View and check the checkbox to enable the Object View. The Object View is a window that displays all objects on a page. Click on an object to quickly navigate to it on the page and view its properties.
Status Bar
Click View > Status Bar and check the checkbox to enable the Status Bar. The Status Bar populates on the bottom of a project and shows the current cursor location, magnification level, and whether a selected device is connected. The magnification level can be changed by clicking the percentage drop-down and selecting an option between 25%, 50%, 75%, 100%, 150%, 200%, or 400%. An example of a Status Bar is shown below:
![]()
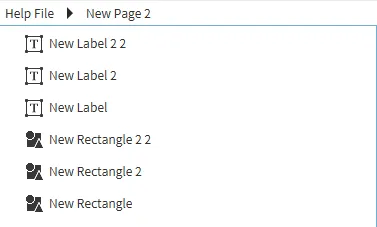
Resource Library
Click View > Resource Library and check the box to enable the Resource Library pane. In the Resource Library pane, users can choose from a preset database of static or animated images or create a new custom library. In a custom library, users can import, delete, and rename images as well as create, rename, and organize folders. Users can also utilize the Project Library, which acts as a custom library but is stored within the project.
Acceptable image formats are .png, .jpg, .gif, .jpeg, .bmp, and .svg.
Some static images can change the Transparent Color field that assigns a color to be treated as transparent. Certain static images also have the option in their right-click menu, to be placed as vectors, which retains consistent quality when changing the size of the image and has the added capacity to change parameters such as fill and stroke color.
All animated images have the Enabled field, which controls whether the image will be animated. Enabled can have a tag bound so that it can be changed in runtime. They also possess the Speed and Loop Count fields, where speed controls how fast the animated images loop, and loop count controls how many loops of images the animation goes through, infinitely at 0.
Users are able to create their own custom libraries. The users can import, delete, and rename files as well as create, rename, and organize folders within the custom library.
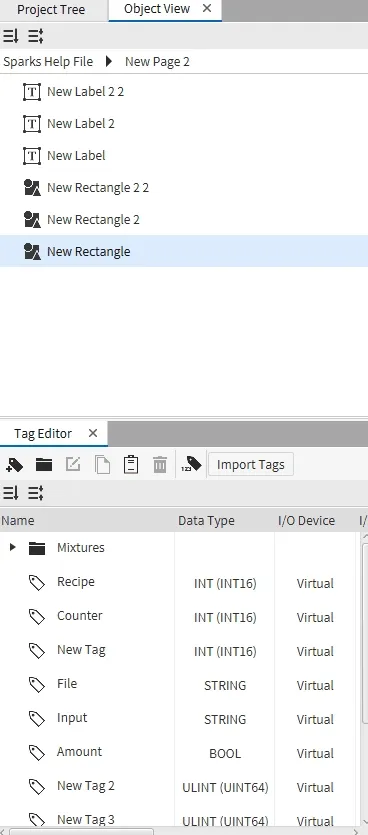
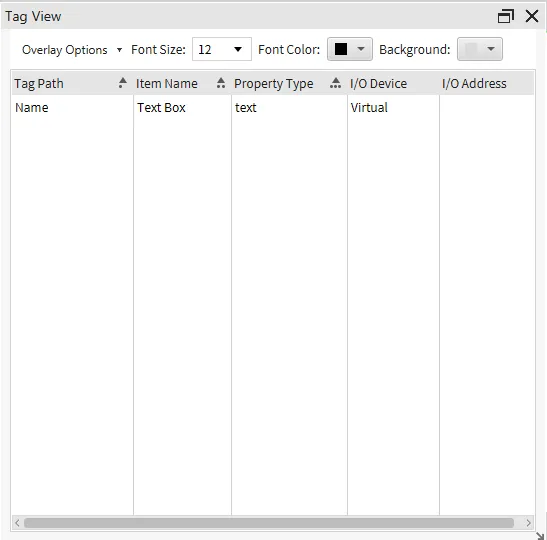
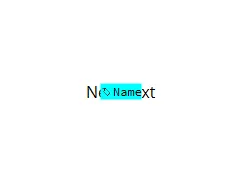
Tag View
Click View > Tag View and check the box to enable the Tag View pane. In the Tag View pane, users can change the Tag Overlay options from the View menu, font size, font color, and backgrounds. The Tag View pane displays all bound tag paths, the item names the tags are bound to, the type of property and I/O device, and I/O address if assigned. This information will be displayed on objects corresponding to the chosen overlay options.
The first image below shows an example of the Tag View display when using the settings from the second image below:

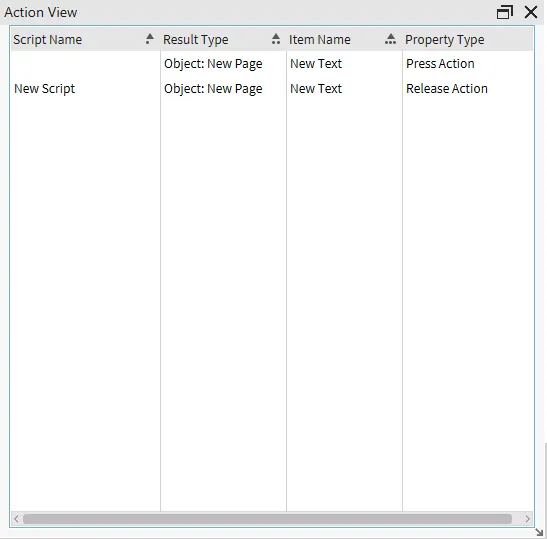
Action View
Click View > Action View and check the box to enable the Action View pane. The Action View pane displays all instances of bound actions, the name of a script if executing a script, the type of object the actions are bound to, the item names they are bound to, and the method of execution.