Radio Button Group Exercise
Exercise
Section titled “Exercise”Exercise: Creating a Fill Amount Selection
Please follow the below exercise to understand Radio Button Group functionality.
Configuration
Section titled “Configuration”The following configuration is used to set up this exercise.
Tag Configuration
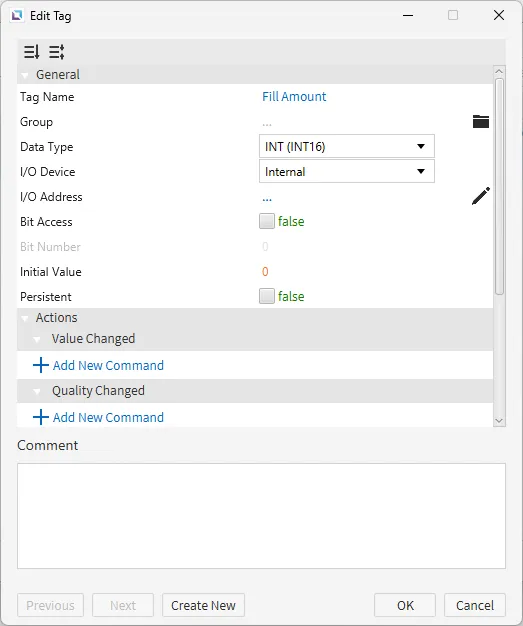
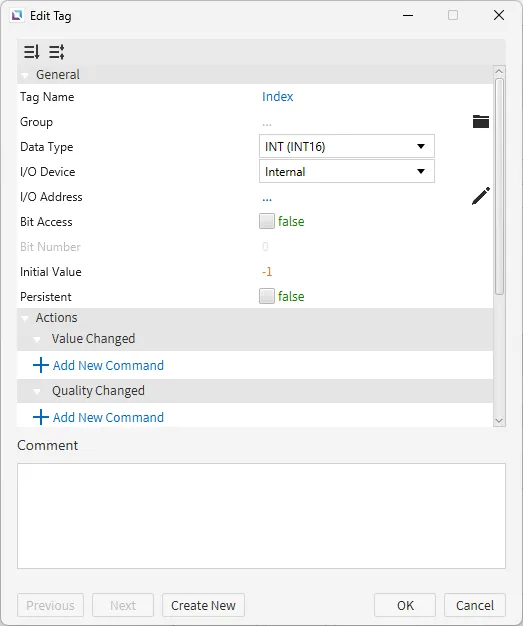
Section titled “Tag Configuration”- Create the following tags: 1 Fill Amount - Data type: INT (INT16) - Initial value: 0 2. Index - Data type: INT (INT16) - Initial value: -1
Script Configuration
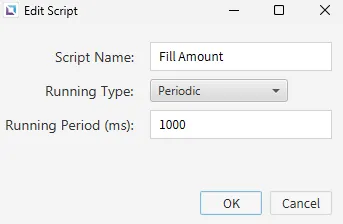
Section titled “Script Configuration”- Create the following script:
- Fill Amount
- Running type: Periodic
- Fill Amount
switch (tag.read("Index")) {  case 0:    tag.write("Fill Amount", 0);    break;
  case 1:    tag.write("Fill Amount", 25);    break;
  case 2:    tag.write("Fill Amount", 50);    break;
  case 3:    tag.write("Fill Amount", 75);    break;
  case 4:    tag.write("Fill Amount", 100);    break;
default: tag.write("Fill Amount", 0); break;}- This script checks if the Index tag is NOT -1 and writes the corresponding fill amount from the radio button group to the Fill Amount tag.
Project Configuration
Section titled “Project Configuration”- Set up the project to look like the below image. The project utilizes a text display, radio button group, and fillable rectangle.
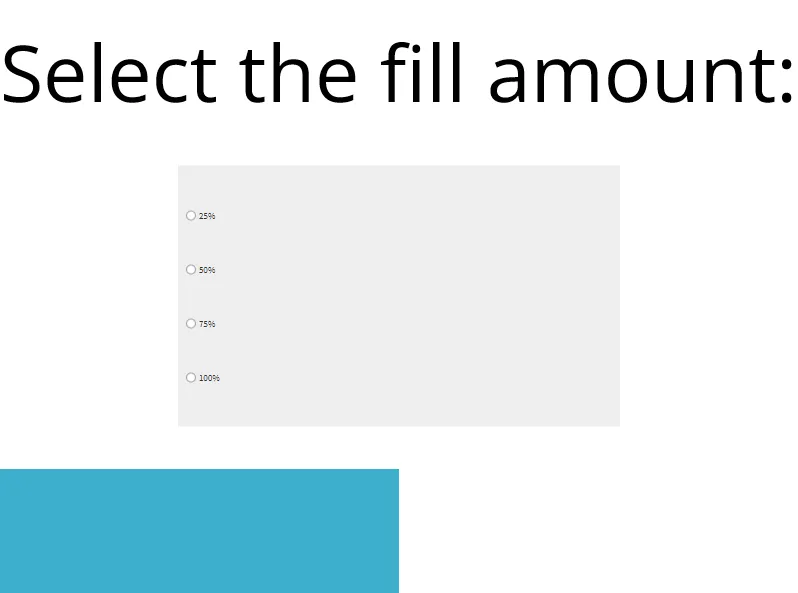
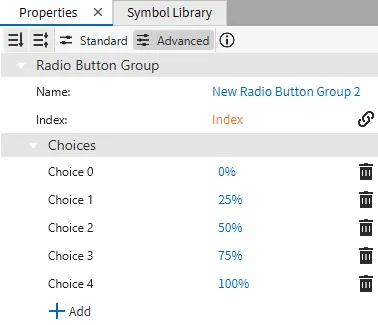
- For the radio button group object, bind the Index tag to the index property. Add five choices: "0%", "25%", "50%", "75%", and "100%". These correspond to the fill amount.
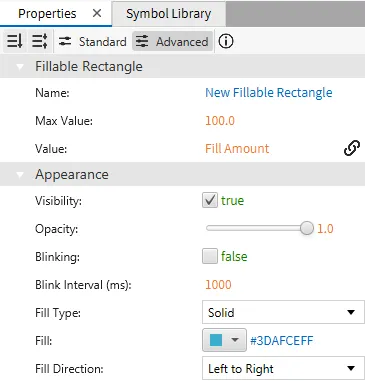
- This example also utilizes the Fillable Rectangle. Create a new Fillable Rectangle. Set the fill direction property to left to right. Bind the Fill Amount tag to the value property.
Project Deployment
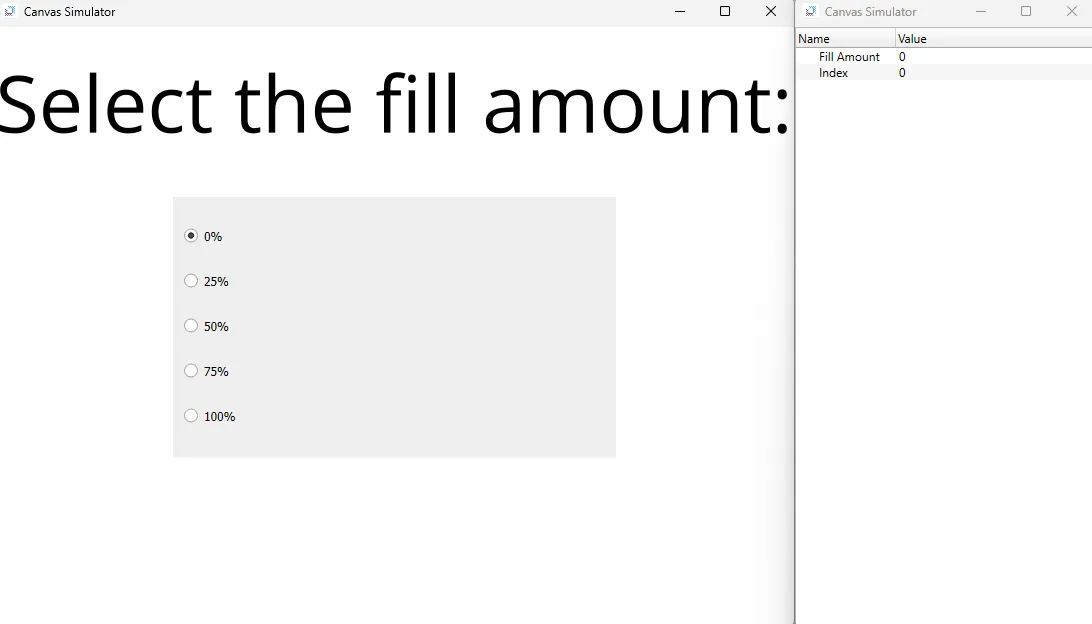
Section titled “Project Deployment”-
Click Tools > Launch Simulator to launch the Canvas Simulator.
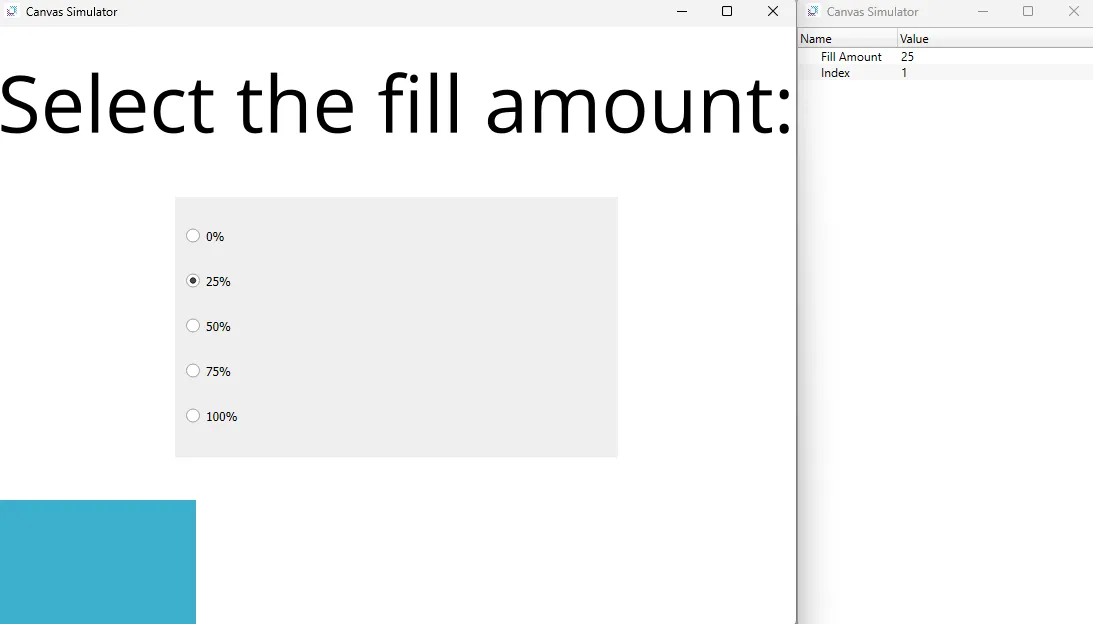
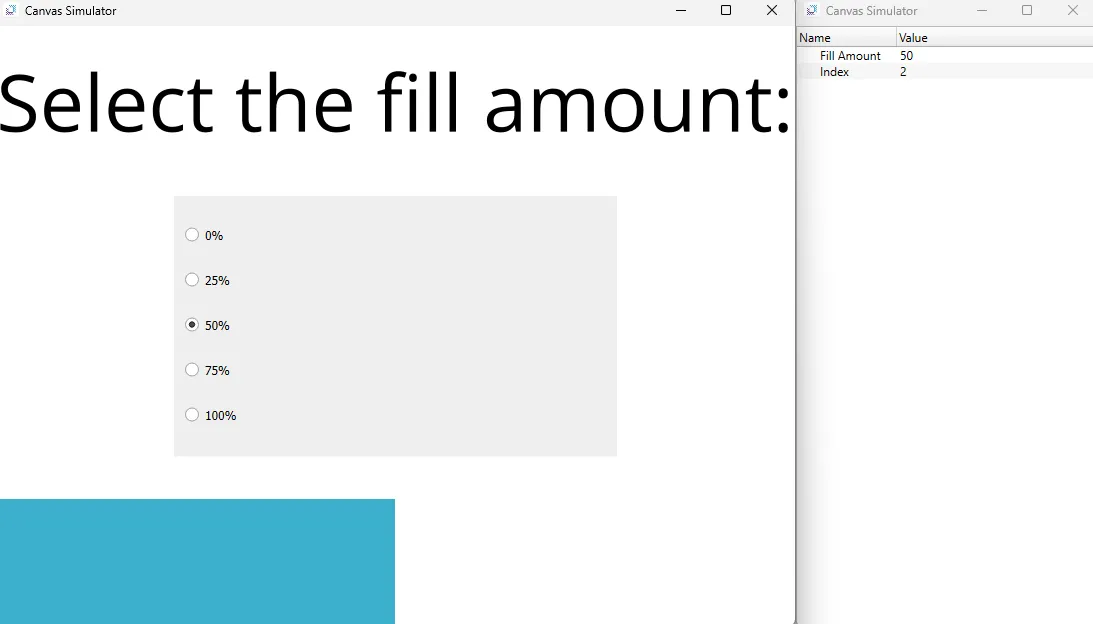
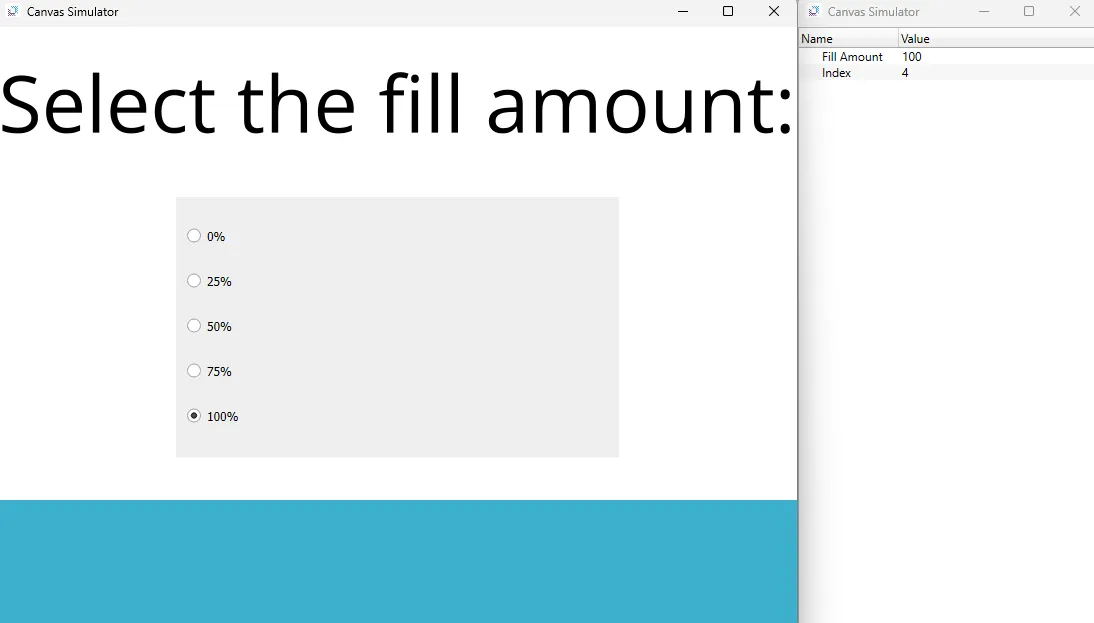
-
In the radio button group, select a fill amount. The fillable rectangle will fill based on the choice selected.