Audit Log Exercise
Exercise
Exercise: Checking user history with the Audit Log table
Please follow the below exercise to understand Audit Log functionality.
Configuration
The following configuration is used to set up this exercise.
Project Configuration 1
- To enable audit logging, go to File > Project Properties > Audit Log. Click Enable.

Tag Configuration
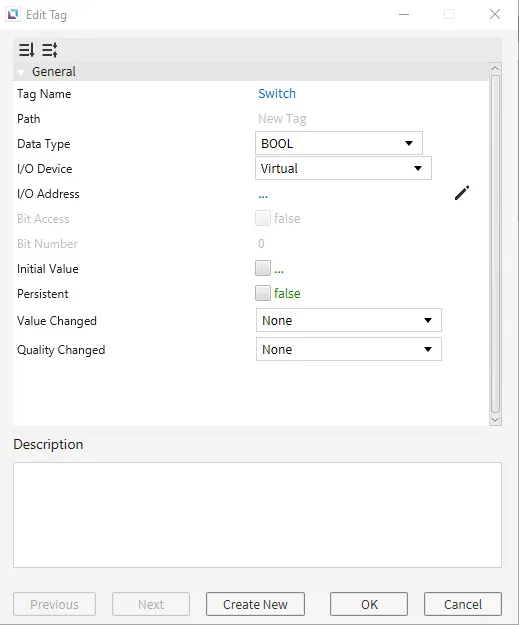
- Create the following tag:
- Switch
- Data type: BOOL
- Initial value: false
- Switch
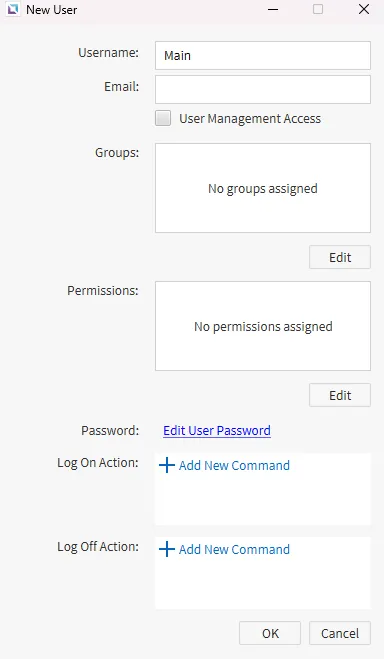
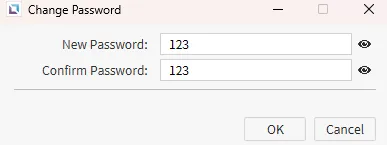
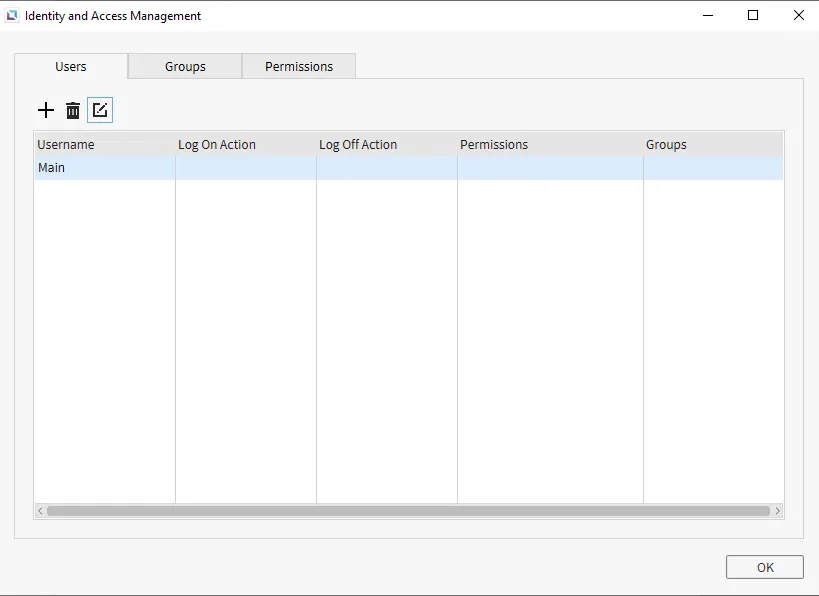
Identity and Access Management Configuration
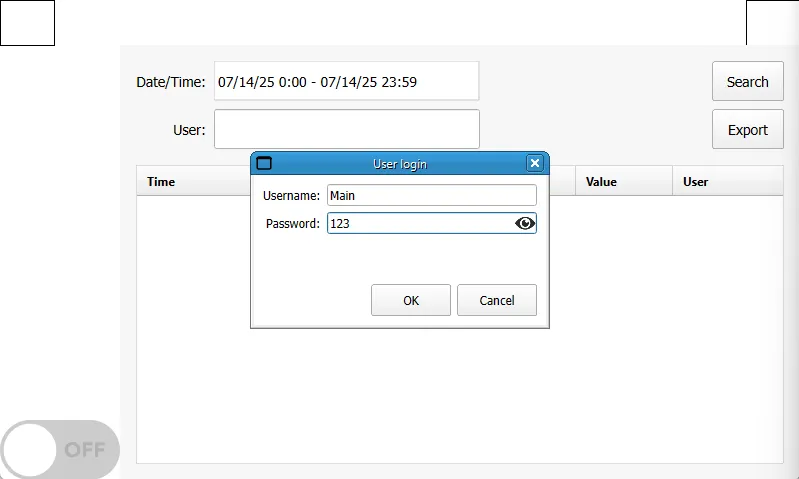
- Go to Tools > Identity and Access Management. Create a new user named Main and set the password to 123.
Project Configuration 2
The following steps configure the Canvas page.
Login/Logout
-
Create two Rectangles. One will be located on the top left, and the other on the top right.
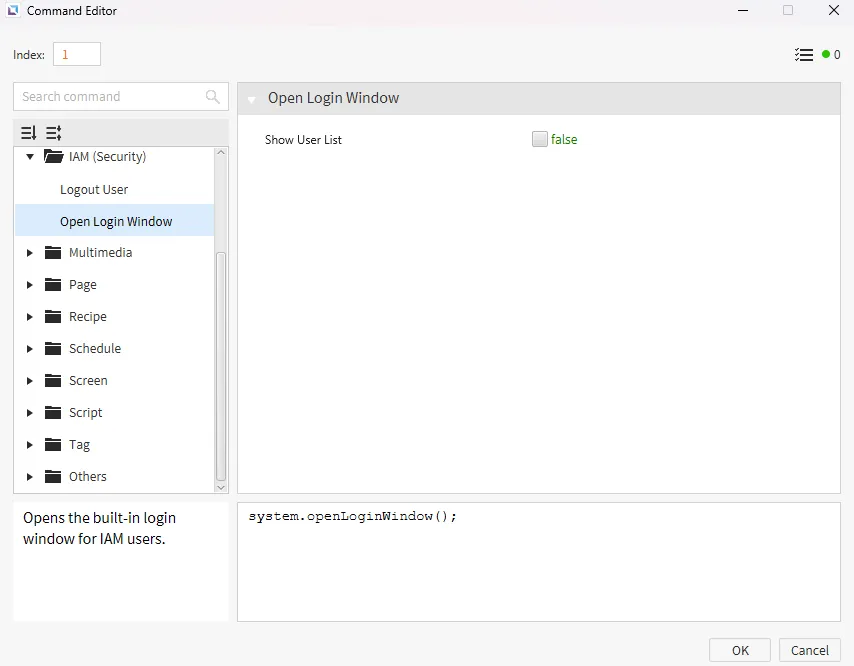
For the top-left rectangle, go to Actions, and under On Press, create a new command that will open the login window.
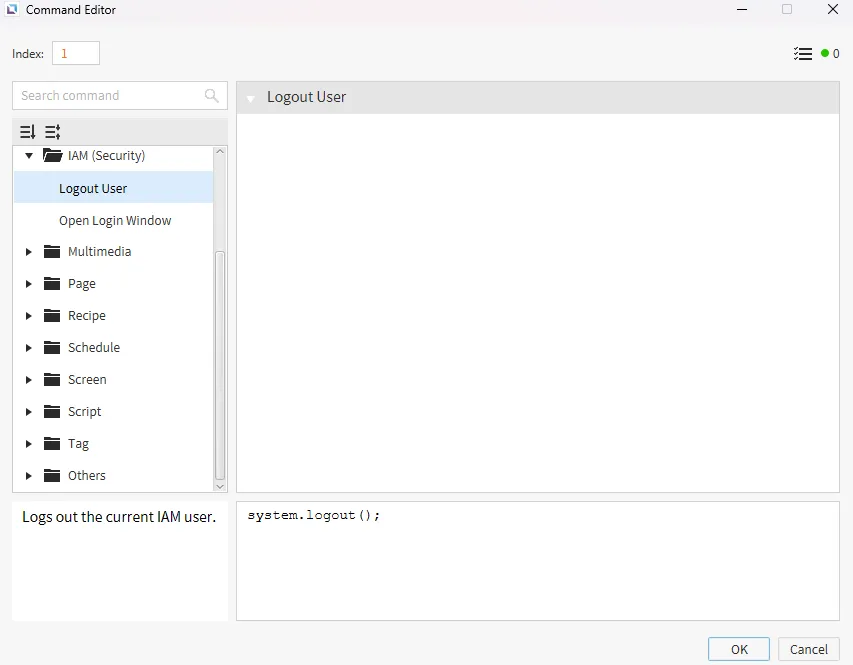
For the top-right rectangle, go to Actions, and under On Press, create a new command that will log the user out.

Toggle Button
-
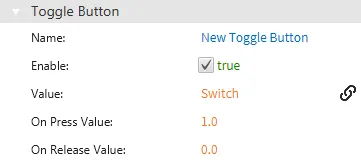
Create a Toggle Button object on the bottom left of the page.
Once placed, click and hold the Switch tag and drag it to the Toggle Button to bind it. Or, manually bind the Switch tag to the Toggle Button's Value property.

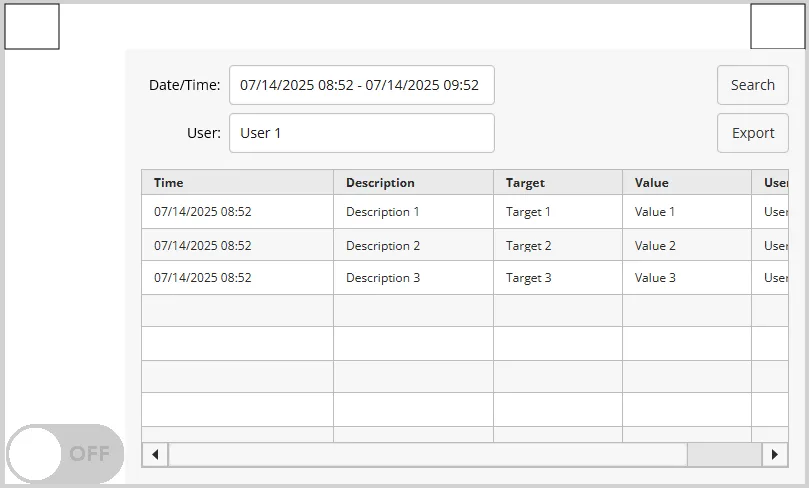
Audit Log Table
-
Go to Insert > Audit Log Table or click the Insert Audit Log Table icon on the toolbar to place the Audit Log table.
Once selected, click and drag the audit log table over the screen.
Project Deployment
- Click Tools > Launch Simulator to launch the Canvas Simulator.
- Click the top left Rectangle and log in to the Main user account.
-
Click the Toggle Button about six times.
Once completed, click the top-right rectangle to logout.
-
Click the Toggle Button six more times.
-
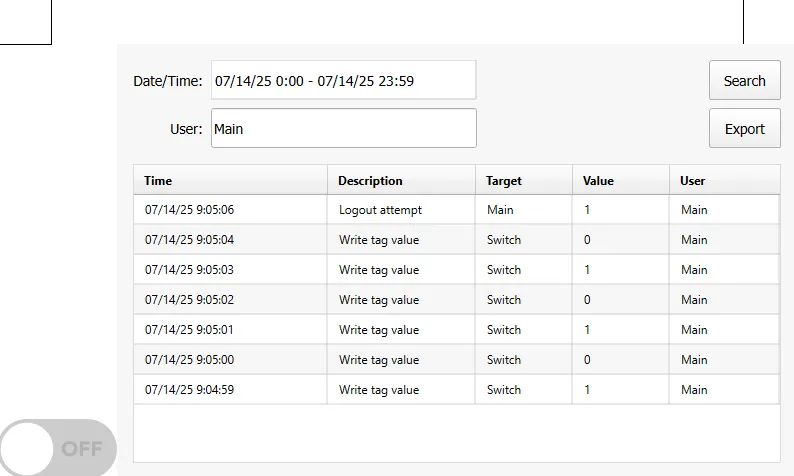
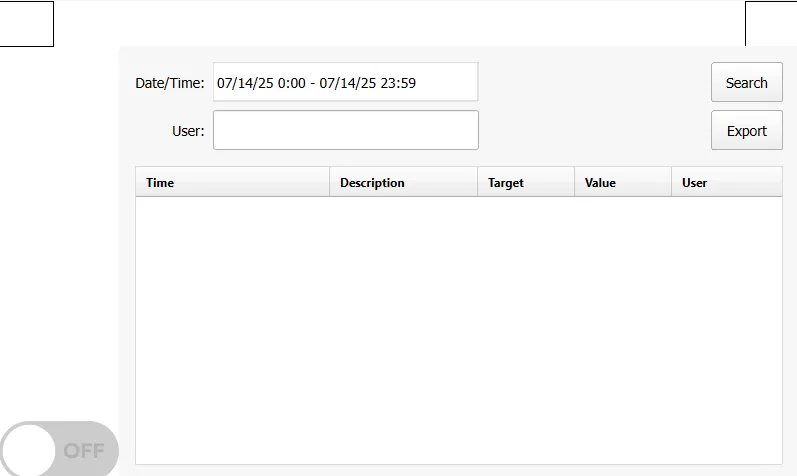
Now, click the Search button on the Audit Log Table.
-
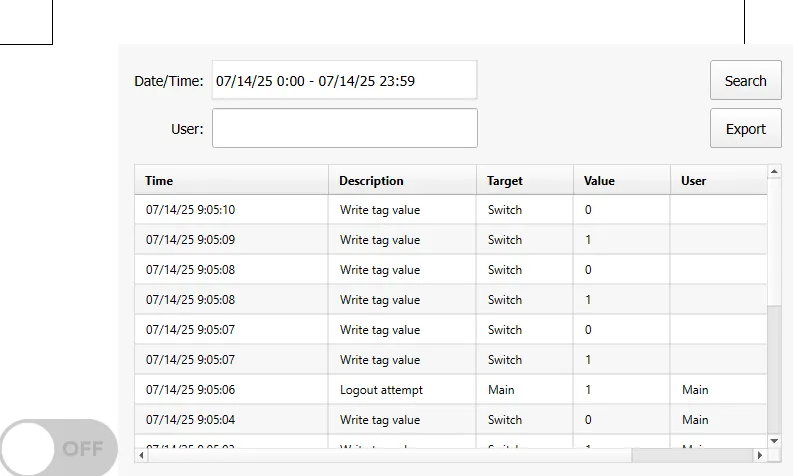
Now, type Main in the user search box and click Search.
This will bring up only results that the user did when logged into the User Main.