Radio Button Group Exercise
Exercise
Exercise: Creating a Fill Amount Selection
Please follow the below exercise to understand Radio Button Group functionality.
Configuration
The following configuration is used to set up this exercise.
Tag Configuration
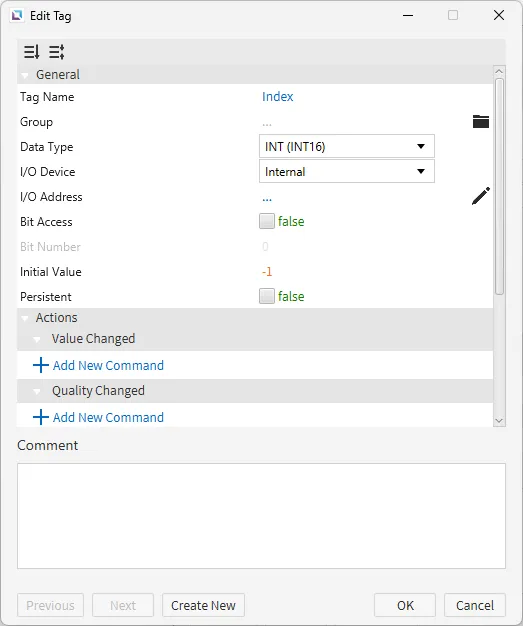
- Create the following tags: 1 Fill Amount - Data type: INT (INT16) - Initial value: 0 2. Index - Data type: INT (INT16) - Initial value: -1

Script Configuration
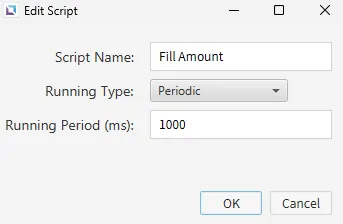
- Create the following script:
- Fill Amount
- Running type: Periodic
- Fill Amount
switch (tag.read("Index")) {
	case 0:
		tag.write("Fill Amount", 0);
		break;

	case 1:
		tag.write("Fill Amount", 25);
		break;

	case 2:
		tag.write("Fill Amount", 50);
		break;

	case 3:
		tag.write("Fill Amount", 75);
		break;

	case 4:
		tag.write("Fill Amount", 100);
		break;

	default:
		tag.write("Fill Amount", 0);
		break;
}
- This script checks if the Index tag is NOT -1 and writes the corresponding fill amount from the radio button group to the Fill Amount tag.
Project Configuration
- Set up the project to look like the below image. The project utilizes a text display, radio button group, and fillable rectangle.
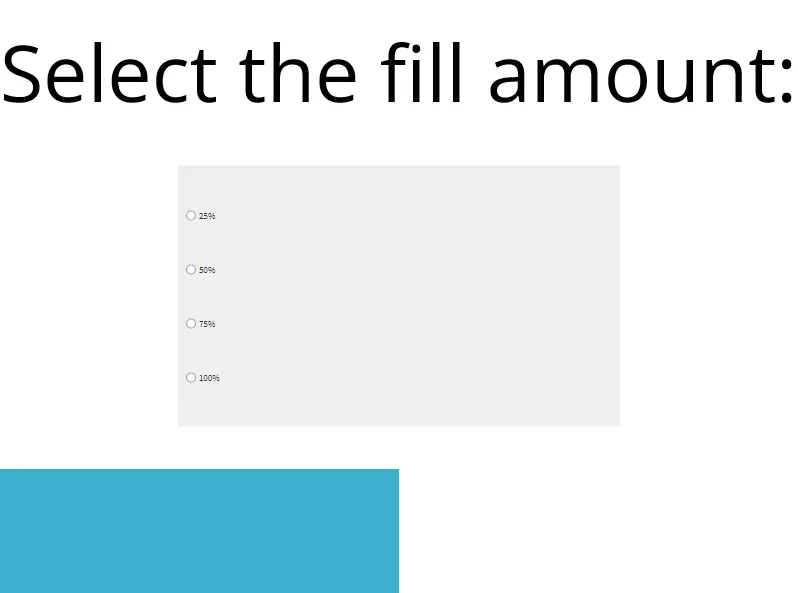
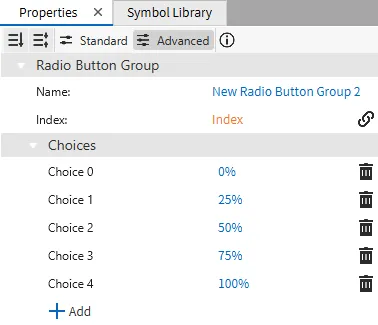
- For the radio button group object, bind the Index tag to the index property. Add five choices: "0%", "25%", "50%", "75%", and "100%". These correspond to the fill amount.
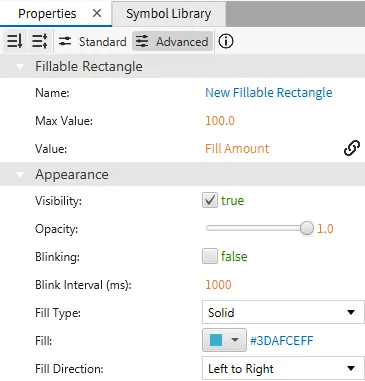
- This example also utilizes the Fillable Rectangle. Create a new Fillable Rectangle. Set the fill direction property to left to right. Bind the Fill Amount tag to the value property.
Project Deployment
-
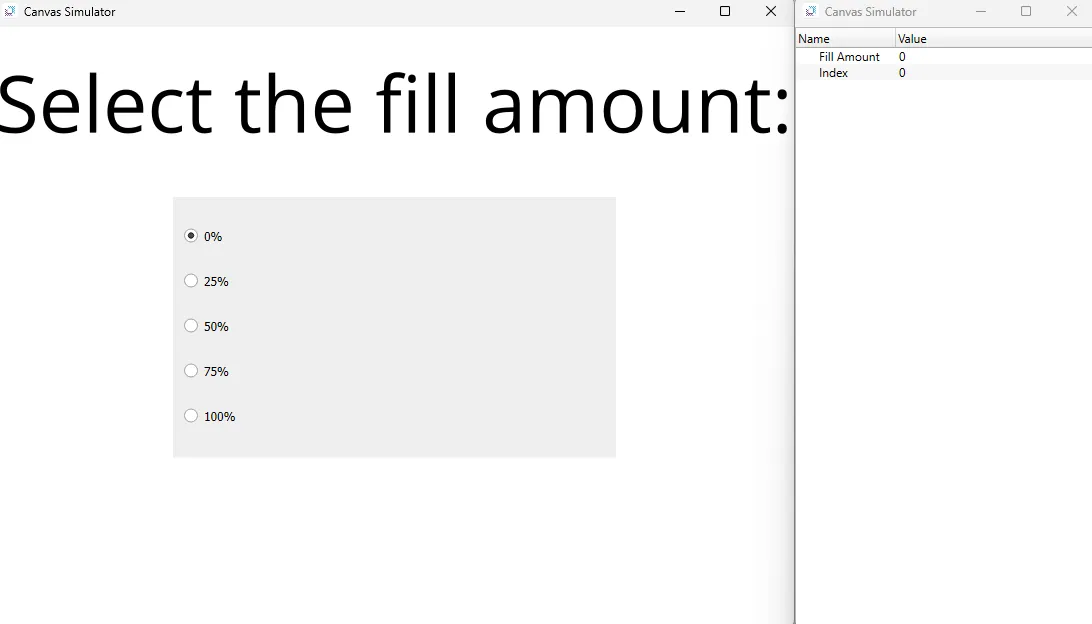
Click Tools > Launch Simulator to launch the Canvas Simulator.
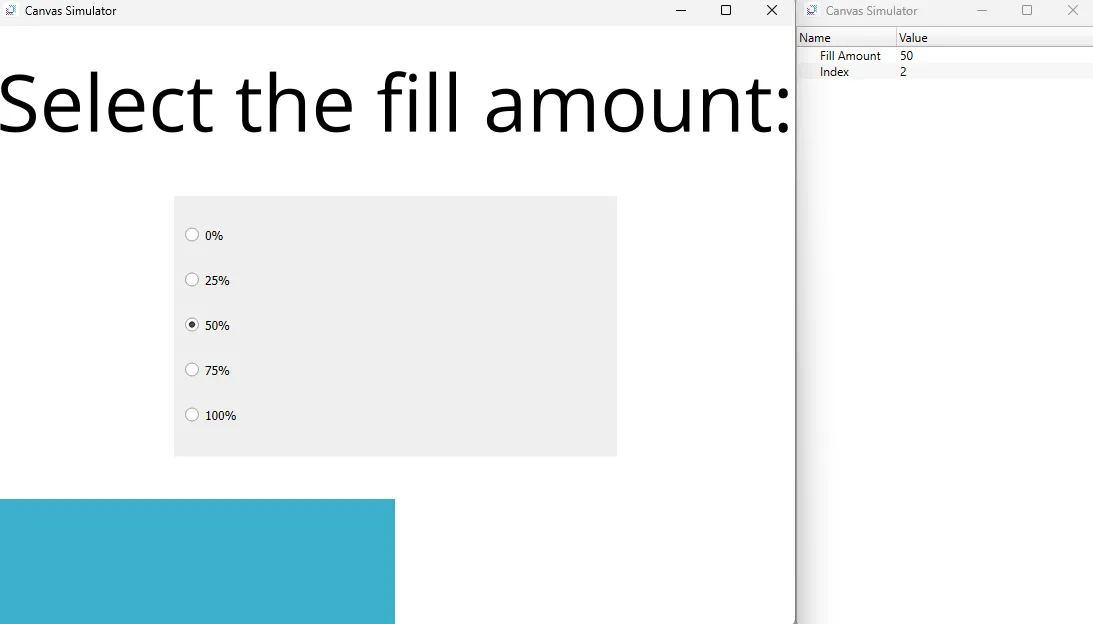
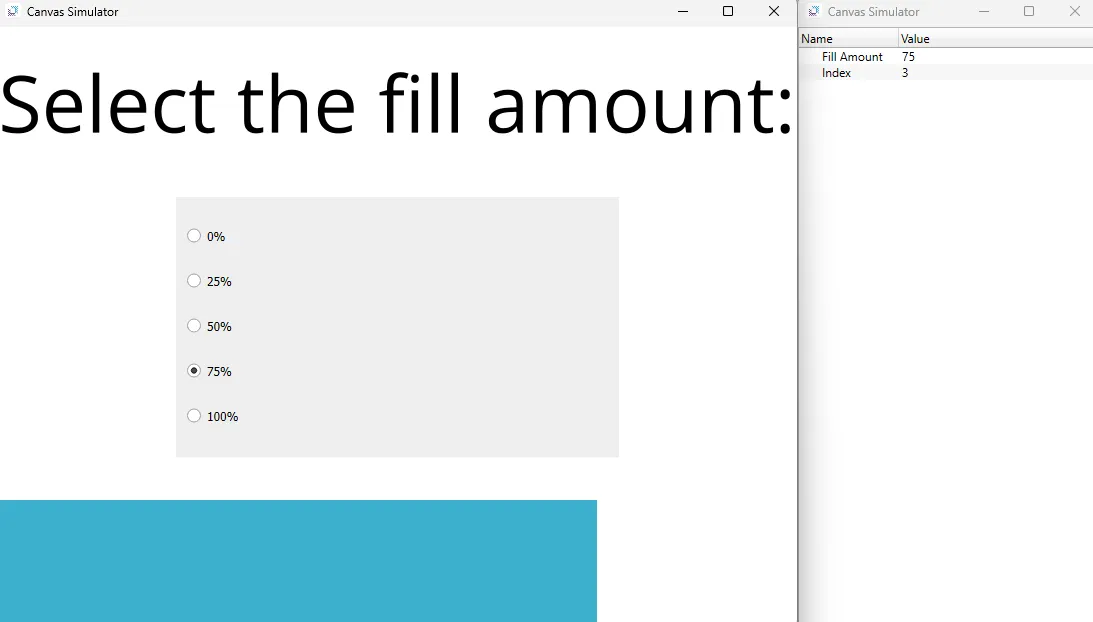
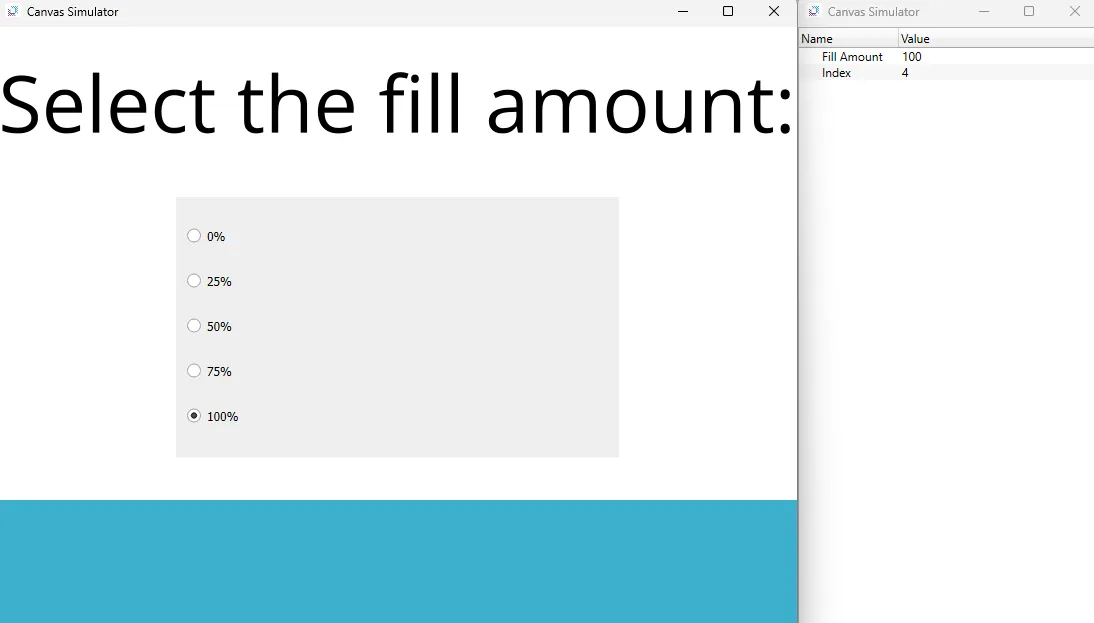
-
In the radio button group, select a fill amount. The fillable rectangle will fill based on the choice selected.