Gauge Exercise
Exercise
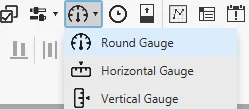
Exercise: Using Round Gauge
Please follow the below exercise to understand Gauge functionality.
Configuration
The following configuration is used to set up this exercise.
Tag Configuration
- Create the following tags:
- Gas Peddle
- Data type: BOOL
- Initial value: false
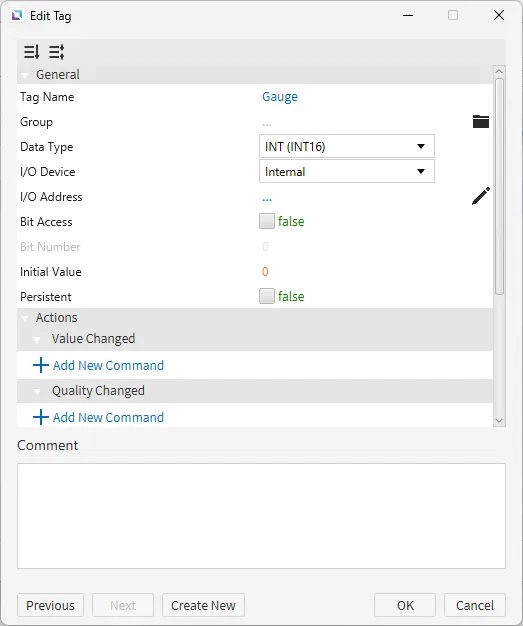
- Gauge
- Data type: INT (INT16)
- Initial value: 0
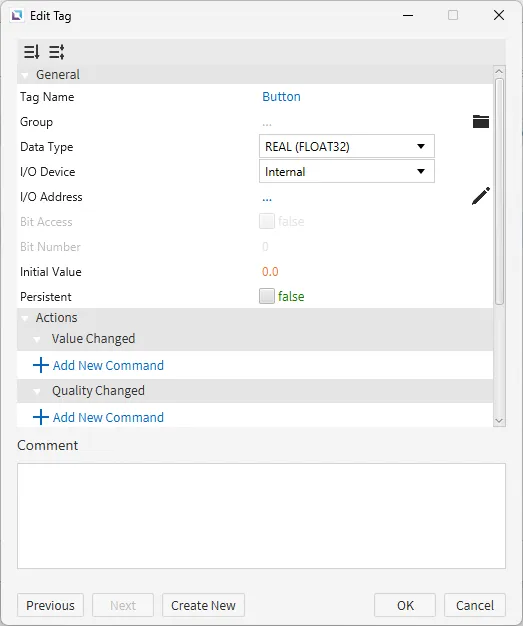
- Button
- Data type: REAL (FLOAT32)
- Initial value: 0.0
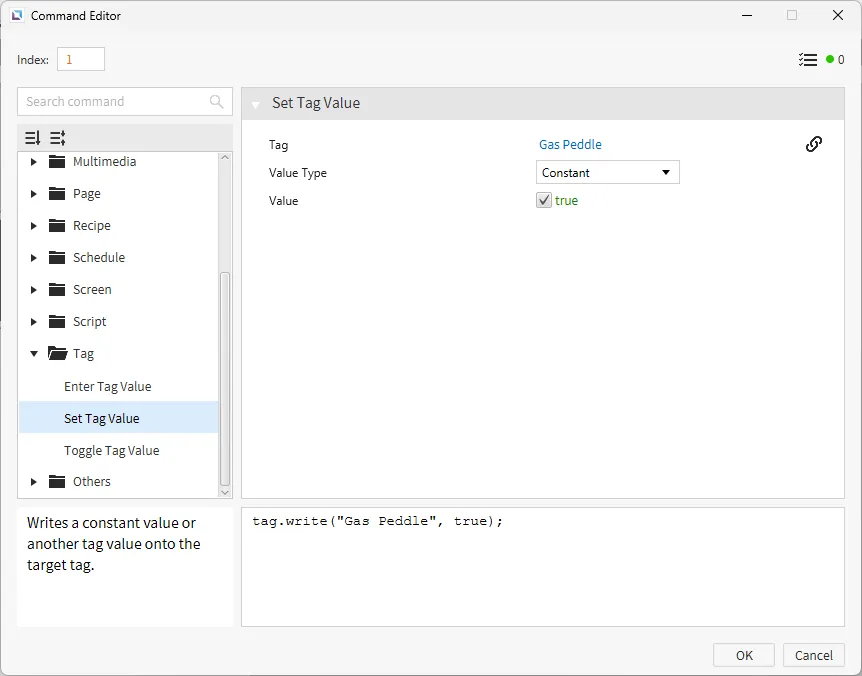
- Gas Peddle

Script Configuration
- Create the following script:
- Gauge
- Running type: Periodic
- Gauge

- Paste the following code into the Gauge script.
var currentSpeed = 0;
var throttleEngaged = false;
var maxSpeed = 1000;
var minSpeed = 0;
var speedStep = 10;  // Adjust speed increment based on throttle engagement

// Main loop to control the speed based on the throttle
while (true) {
    // Check if the throttle is engaged (assuming the "Throttle" tag reflects engagement)
    if (tag.read("Gas Peddle") == 1) {
        throttleEngaged = true;  // Throttle engaged
    } else {
        throttleEngaged = false;  // Throttle disengaged
    }

    // If throttle is engaged, increase the speed
    if (throttleEngaged) {
        currentSpeed += speedStep;  // Increase speed
        if (currentSpeed > maxSpeed) {
            currentSpeed = maxSpeed;  // Cap the speed at the maximum value (240)
        }
    } else {
        currentSpeed -= speedStep;  // Decrease speed when throttle is disengaged
        if (currentSpeed < minSpeed) {
            currentSpeed = minSpeed;  // Ensure speed doesn't drop below 0
        }
    }

    // Write the current speed to the "Speed" tag (update the speedometer)
    tag.write("Gauge", currentSpeed);

    // Small delay before the next loop iteration
    thread.msleep(100);  // Adjust for smoother or faster speed changes
}- Create the following script:
- Speed Gauge
- Running type: Periodic
- Speed Gauge

- Paste the following code into the Speed Gauge script.
thread.msleep(5100)
while (1){
	var control_speed_tag = tag.read("Gauge")
	var control = control_speed_tag * 360/(15 * 100 * 12)

	thread.msleep(10)
}- Create the following script:
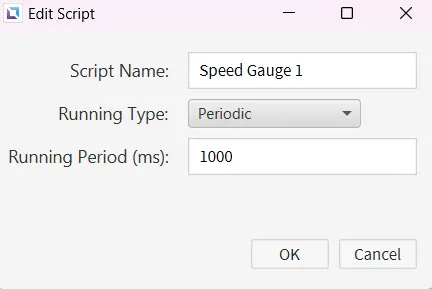
- Speed Gauge 1
- Running type: Periodic
- Speed Gauge 1
- Paste the following code into the Speed Gauge 1 script.
while (1) {
	if (tag.read("Gas Peddle")){
		tag.write("Gauge", tag.read("Gauge") + 1);
	}
	thread.msleep(50)
}- This code will be used for the objects in the next section. If the arrow is pressed and held down it will move the car to the right, and if the button is released it'll move the car to the left while also moving the Gauge.
Project Configuration
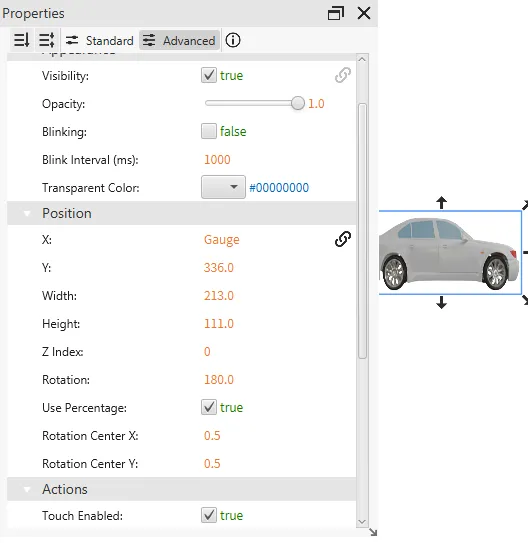
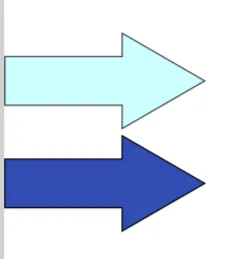
- Create five objects on the screen: two vector symbol library arrows, a momentary button, a car from the symbol library, and lastly a round gauge.
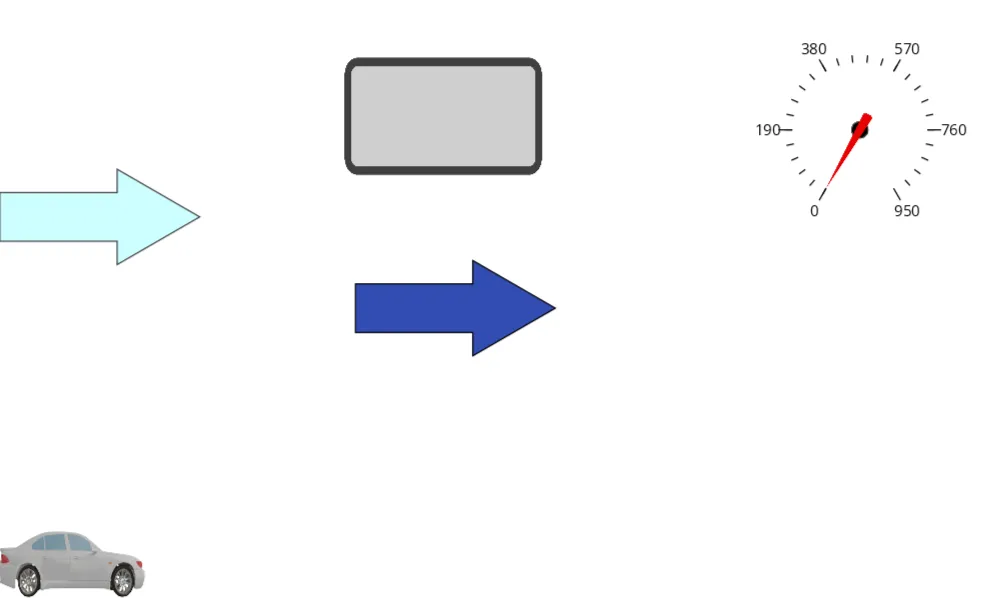
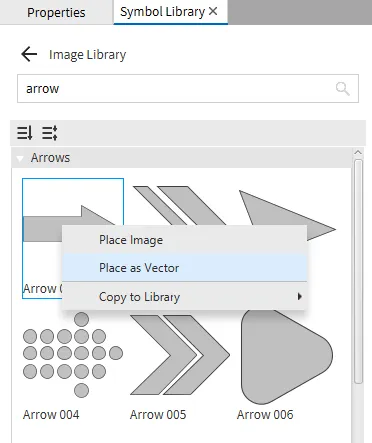
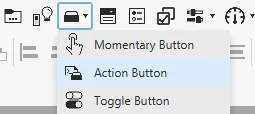
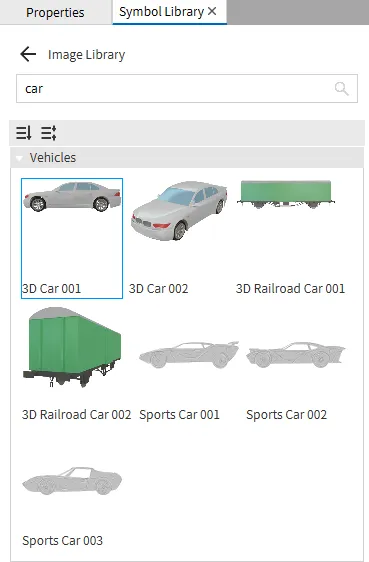
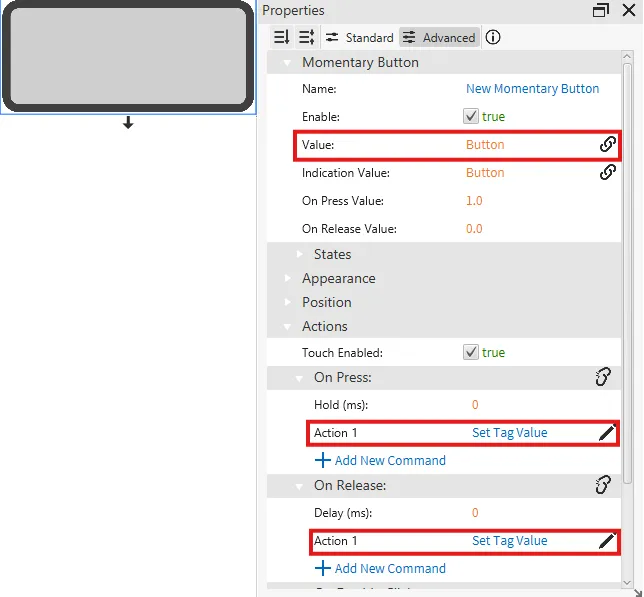
- Follow the images below and make sure the tags we created earlier are on the correct object and that action buttons are set correctly.
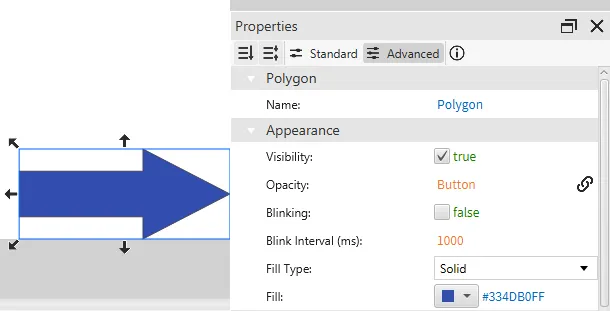

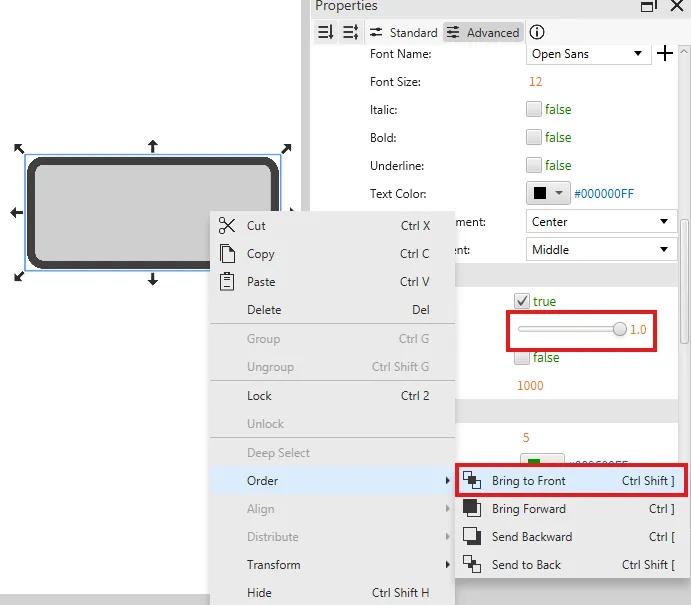
- Now that everything is tagged and the action buttons are set correctly move the arrow which has the Button tag on it on top of the second arrow we created and change the order of it to bring it to the front.
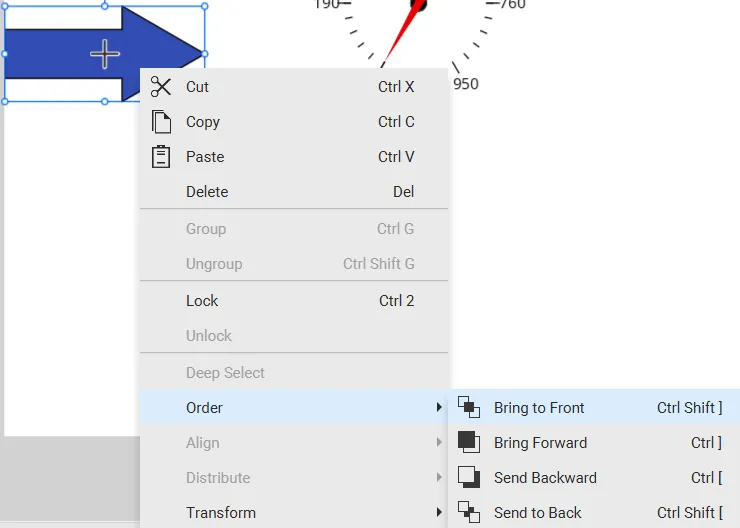
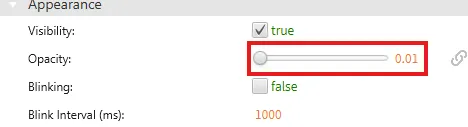
- Take the momentary button and do the same thing, placing it on top of the arrows, but change the opacity of it to 0.01 once ontop of the arrows. Also, change the order and bring it to the front as well.
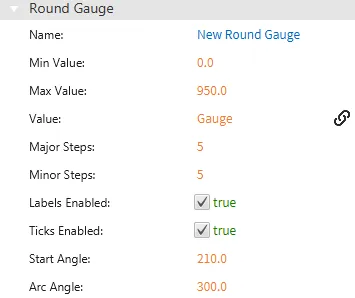
- Select the round gauge and change the max value to 950.

Project Deployment
-
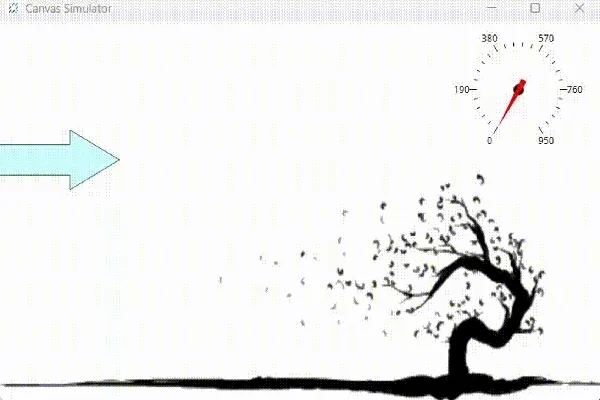
Click Tools > Launch Simulator to launch the Canvas Simulator.
-
Click and hold the arrow to the right and watch the car move to the right and the gauge increase. Release the arrow and watch the car move to the left and the gauge decrease.