Scheduler Exercise
Exercise
Exercise: Setting an oil change reminder with the Scheduler feature
Please follow the below exercise to understand Scheduler functionality.
Configuration
The following configuration is used to set up this exercise.
Tag Configuration
- Create the following tags:
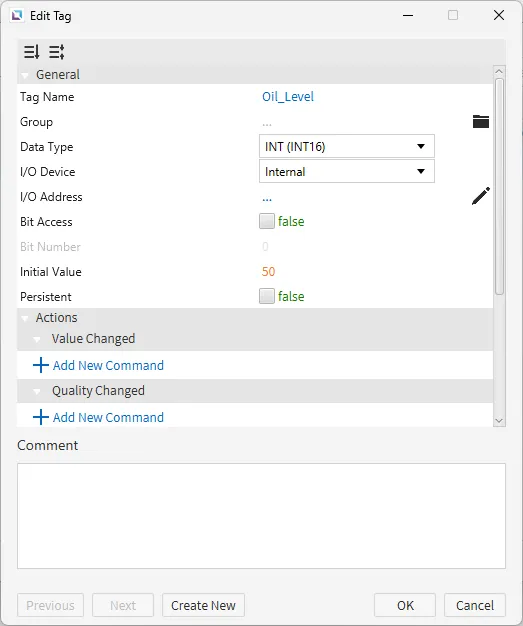
- Oil_Level
- Data type: INT (INT16)
- Initial value: 50
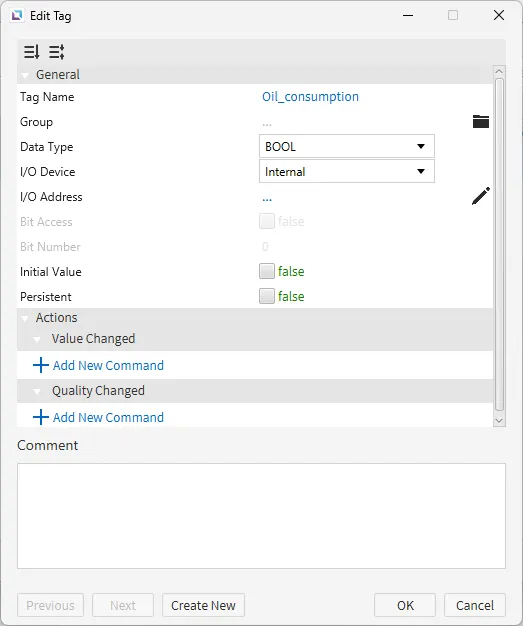
- Oil_consumption
- Data type: BOOL
- Initial value: false
- Oil_Level
Project Creation 1
- Create a toggle button on the page. To create a toggle button, go to Insert > Buttons > Toggle Button or left-click the Insert Button > Toggle Button icon on the toolbar. Then, click and drag on the screen to place the button. Once the toggle button is created, drag the Oil_consumption tag to the button. This will bind the value field to the Oil_consumption tag.

-
Create a rectangle and a fillable rectangle.
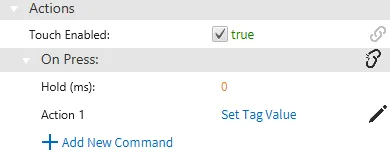
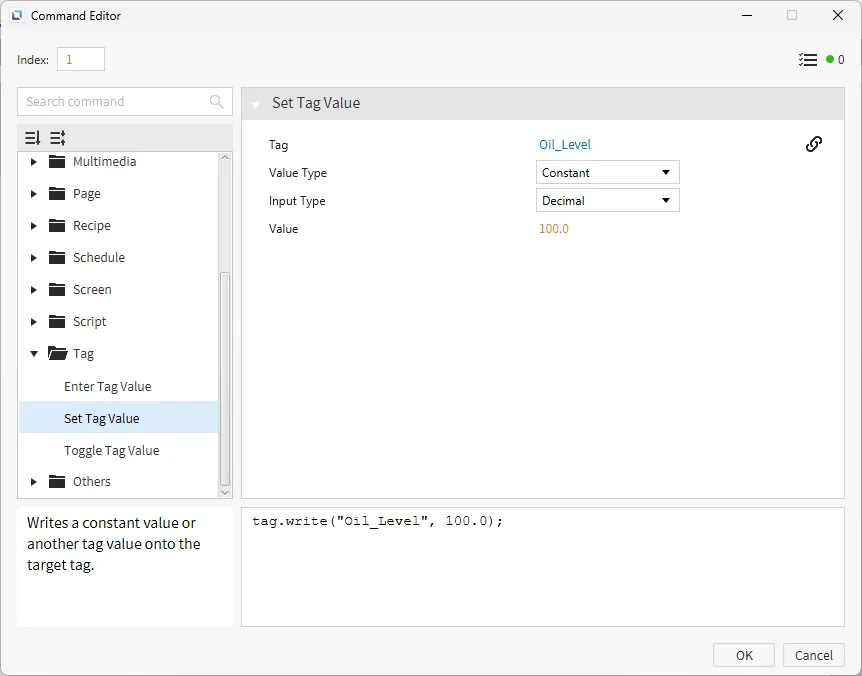
Create a rectangle by clicking Insert > Rectangle or left-clicking the Insert Rectangle icon on the toolbar. Click and drag across the screen to place the rectangle. While selecting the rectangle, go to the Actions property. Create a new command under the On Press section. Use the Set Tag Value command. Bind the Oil_Consumption tag and set the value to 100
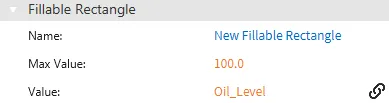
To insert the fillable rectangle, click on Insert > Fillable Rectangle or left-click the Insert Fillable Rectangle icon on the toolbar. Click and drag across the screen to place the fillable rectangle.
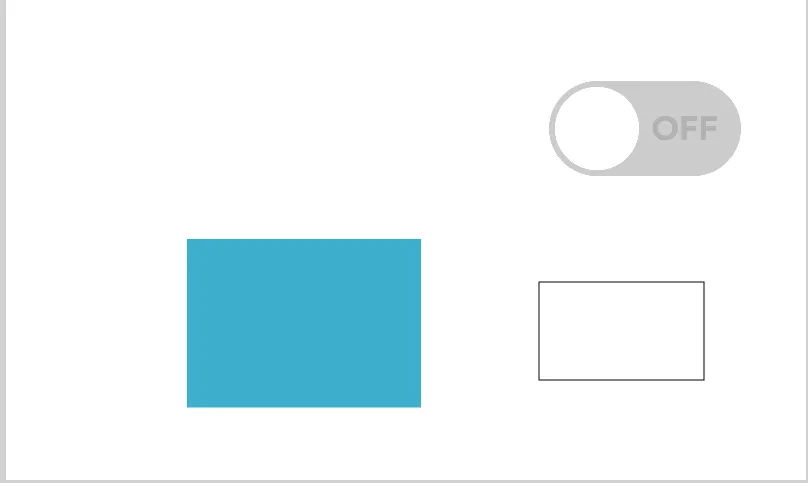
- Bind Oil_Level to the fillable rectangle. This can be achieved by clicking and holding the Oil_level tag and dragging it into the fillable rectangle.
Script Configuration
- Create the following script:
- Oil_Deduction
- Running type: Manual
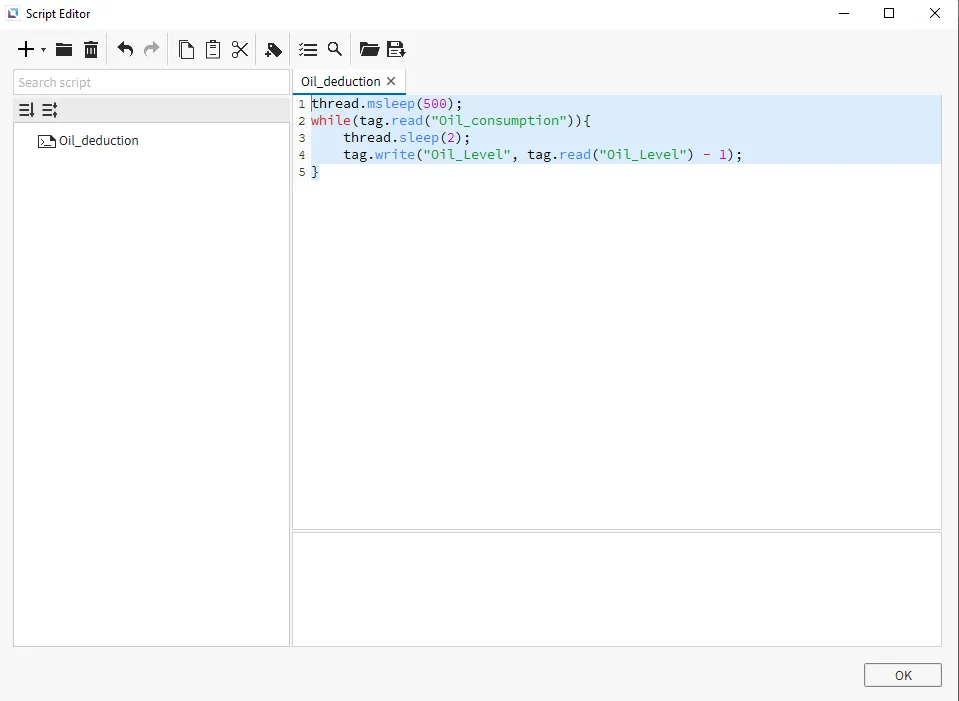
- Oil_Deduction
thread.msleep(500); // sleeps for 500 ms
while(tag.read("Oil_consumption")){ // while Oil_consumption is true
	thread.sleep(2); // pauses for 2 seconds
	tag.write("Oil_Level", tag.read("Oil_Level") - 1); // deducts 1 from the oil level.
}
Project Configuration 2
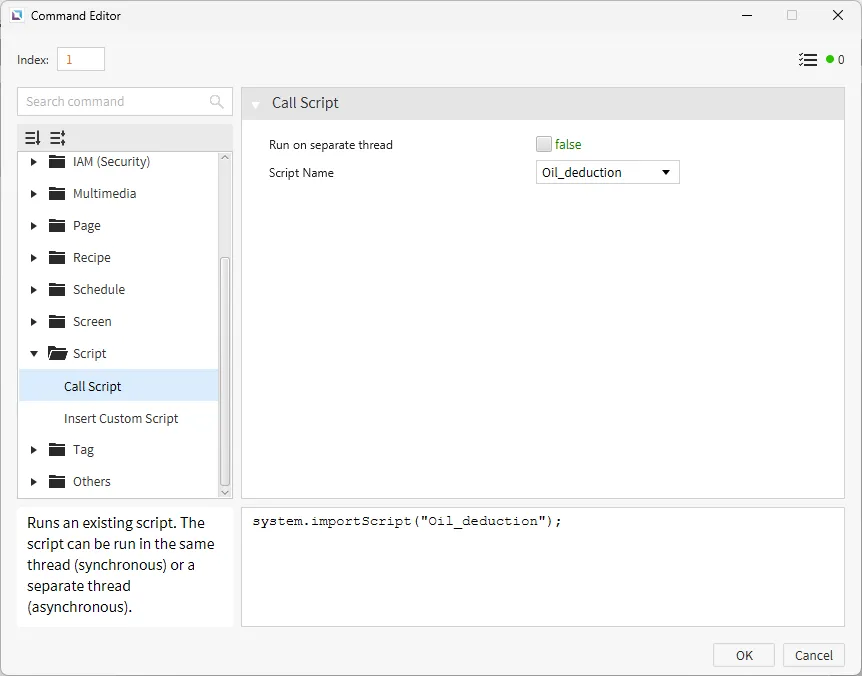
- Bind the Oil_consumption tag to the toggle button by dragging and dropping the tag onto the button. Next, go to the Actions property. Under On Press, click Add New Command. Set the command to be Call Script and change the script to the Oil_deduction script.
Schedule Configuration
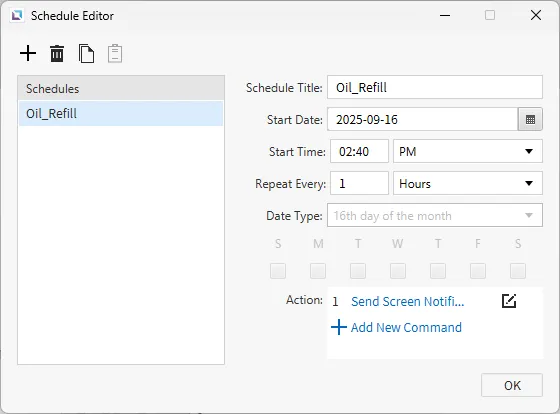
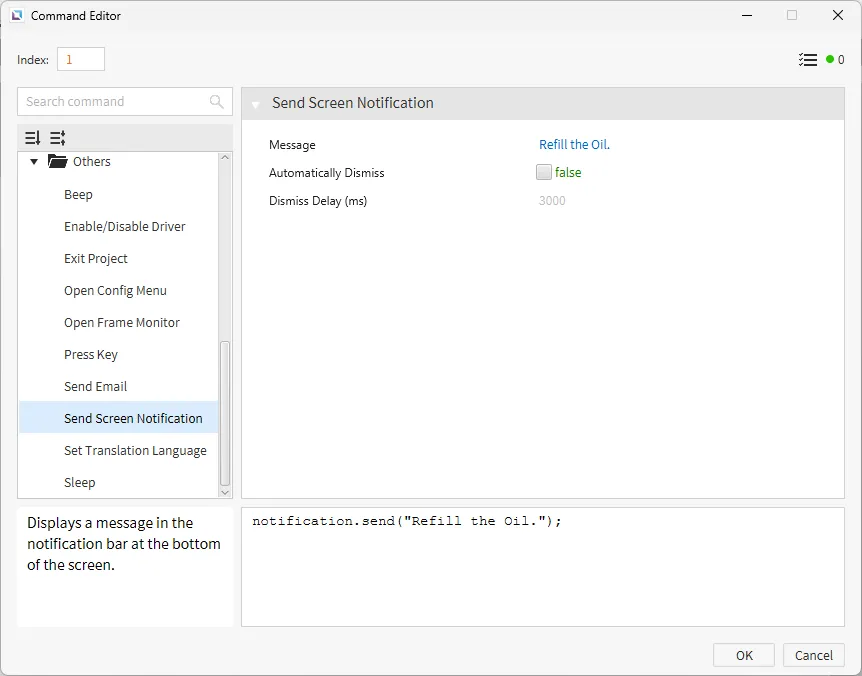
- Create a new schedule by going to Tools > Schedule Editor. Click the + to create a new schedule. Set the Schedule Title to “Oil_Refill.” Set the Start Date to the current date and the Start Time to 5 minutes from the present time. For example, if the current time is 2:30, the Start Time should be 2:35. Set the schedule to repeat every hour. Click the Action Field > Create New Commands. Select the Send Screen Notification command. The message for this notification should be, “Refill the oil".
Project Deployment
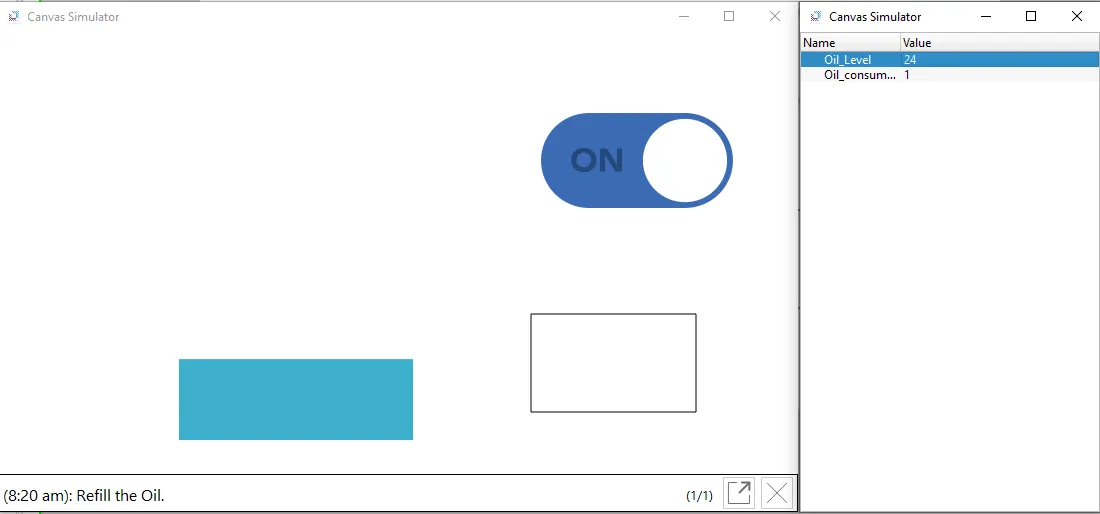
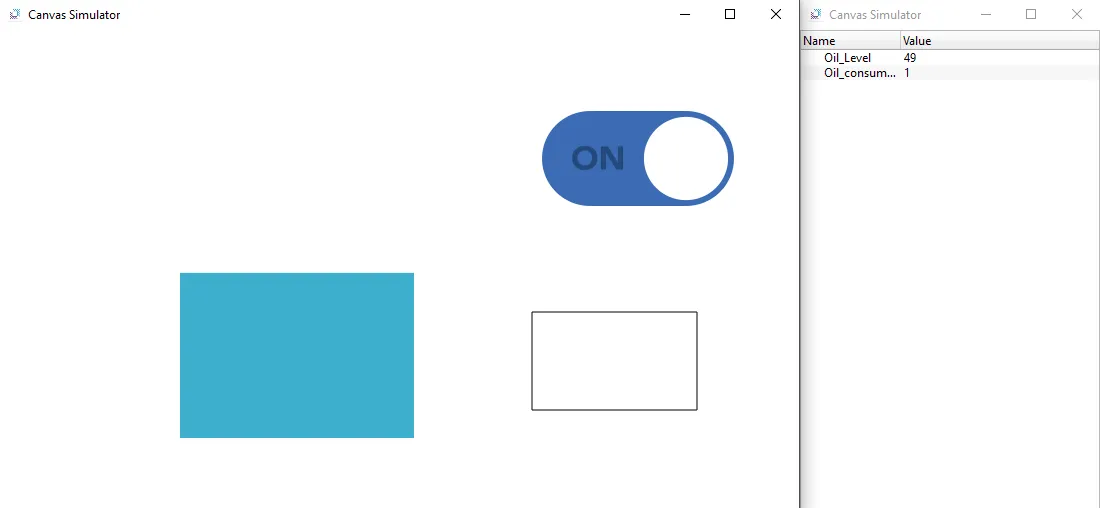
- Click Tools > Launch Simulator to launch the Canvas Simulator.
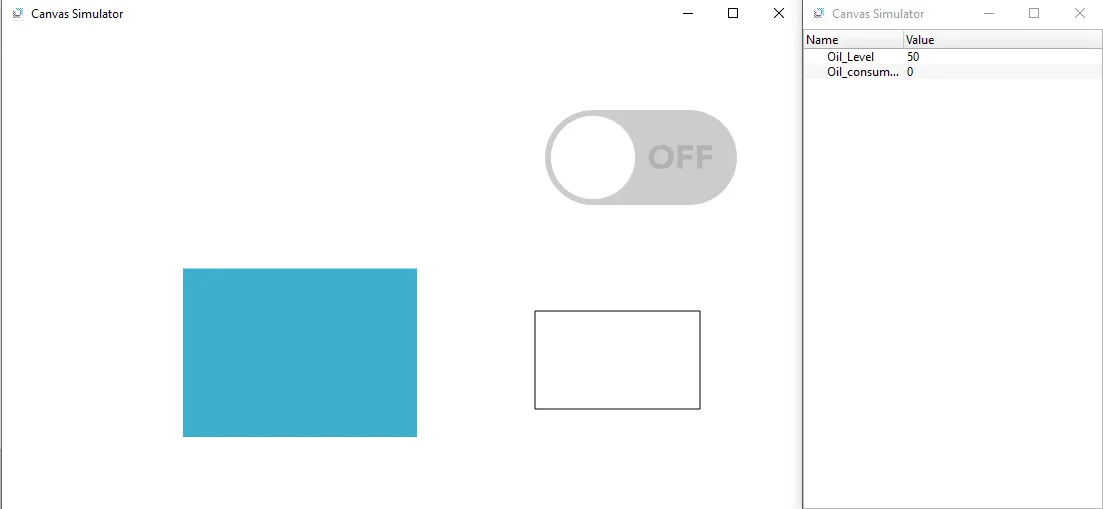
- Click the button to turn Oil_consumption to true. This will start decreasing Oil_Level every two seconds. If the oil runs out while waiting for the schedule to appear, click the rectangle below the button to refill the oil.
- After the time has been reached for the schedule to take effect, the screen notification set from the schedule should appear with the message “Refill the Oil.”