Tag Introduction
Tag Editor Feature Description
The Tag Editor is a core feature of CIMON Canvas that links abstract process variables with physical control devices. Nearly every feature Canvas provides has its functionality based on the tags defined in the Tag Editor. These tags can be numerous data types, and within a Canvas application, tags can be accessed and updated by UI elements, external devices, scripts, and various utility functions (recipes, alarm groups, etc). Tags are easily created, modified, and organized inside the Tag Editor pane or exported and imported from spreadsheet-type software (i.e., Microsoft Excel and Google Sheets), allowing easy management and printing. For more details on the Tag Editor, please visit Tag Editor Information to learn more.
Tag Editor Designer Functionalities
The following functionalities can be configured in the Canvas software.
Tag List
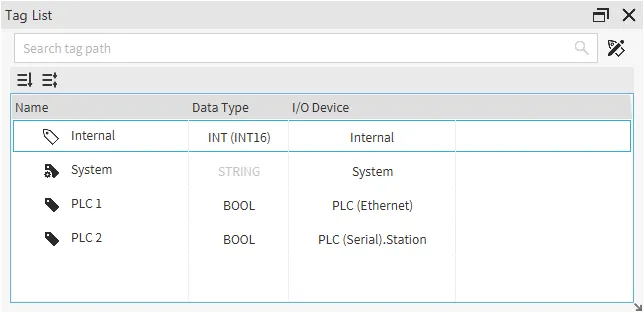
Click View > Tag Editor to open the Tag List pane, as displayed below:
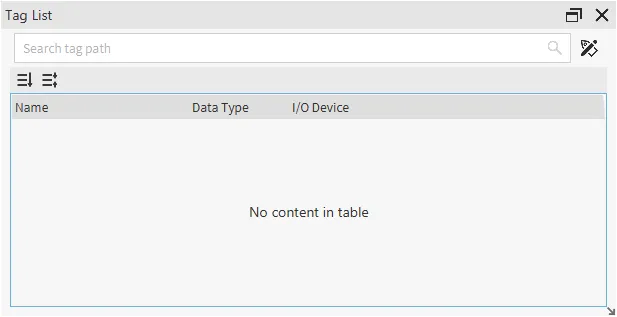
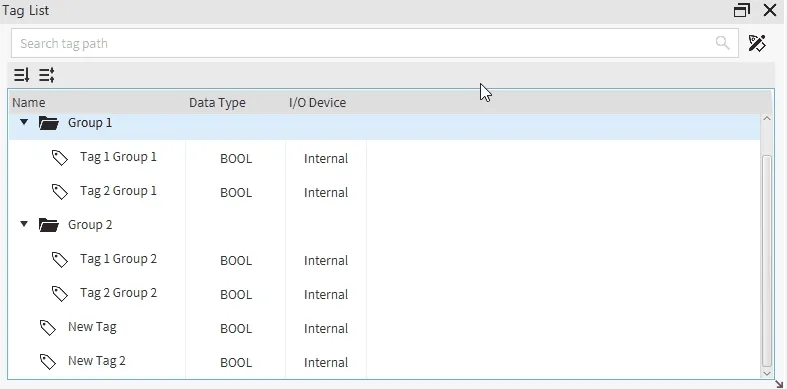
The Tag List pane can be undocked by dragging the pane's header to be placed to the user's liking.
Tags can also be rearranged in the Tag List by dragging them.
Tag Editor
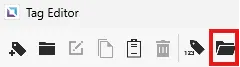
Click the Open Tag Editor icon or click Tools > Tag Editor to open the Tag Editor.
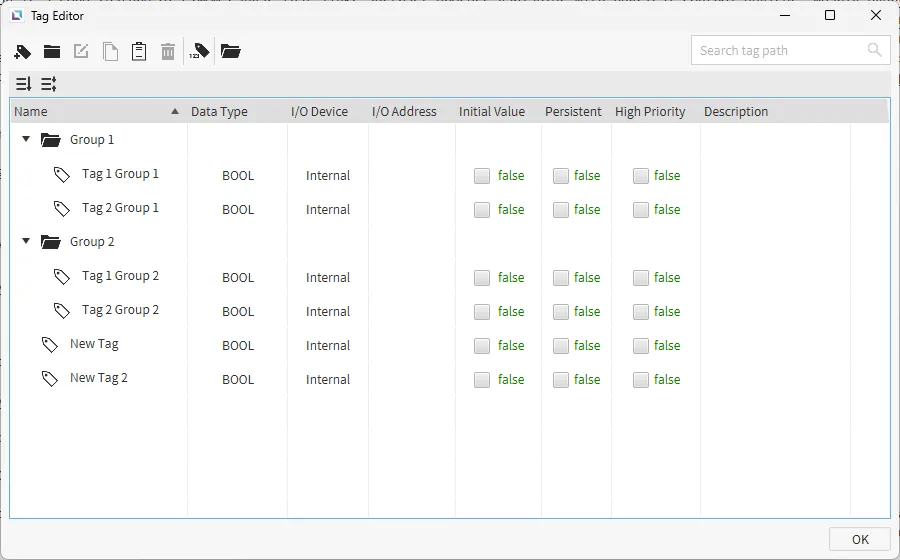
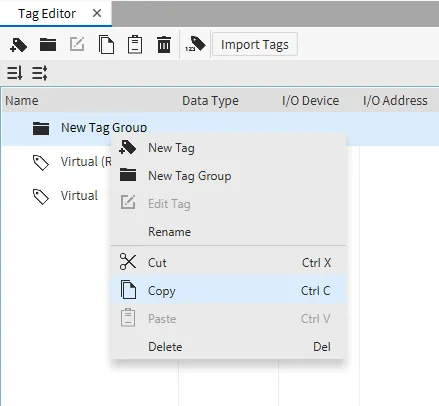
In the Tag Editor, all created tags, and their designated names, data types, connected I/O devices, assigned I/O addresses, initial values, persistent attributes, and descriptions are shown. Users can create, group, edit, paste, copy, cut, and delete tags from this pane by clicking the icons or using the right-click menu.
By clicking Name, created tags will cycle through being sorted in ascending alphabetic order, descending alphabetic order, and creation order.
Users can also click the Tag Count icon to see how many tags of each type or device have been created.
Tag Groups
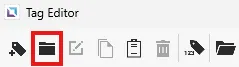
To add a tag group, click the Add Tag Group icon in the Tag Editor window. After pressing the button, a text field will open in the Tag Editor window where a name for the tag group can be assigned.
If the user has too many tags, finding and managing individual tags may be challenging. Tag groups allow users to organize tags based on category using a tree structure for subordinate tags. The grouped tags are displayed and managed in the Tag Editor pane. Groups can also be nested.

Tags
Tags can be defined and configured inside the Tag Editor window. Within a Canvas project, tags can be accessed and updated by UI elements, external devices, scripts, and various utility functions (recipes, alarm groups, etc).
Canvas supports three different tag types: Internal, System, or I/O driver tags.
- Internal tags are virtual tags utilized by the Xpanel. Internal tags do not communicate with any field devices or PLCs.
- System tags will display specific information about the current system and its runtime status.
- I/O driver tags are real tags that communicate with field devices such as PLCs or other HMIs that support the offered protocols.
Each tag supports boolean, analog, and string tags with the following data types: BOOL, REAL, LREAL, SINT, INT, DINT, LINT, USINT, UINT, UDINT, ULINT, and STRING.
Create / Edit Tag
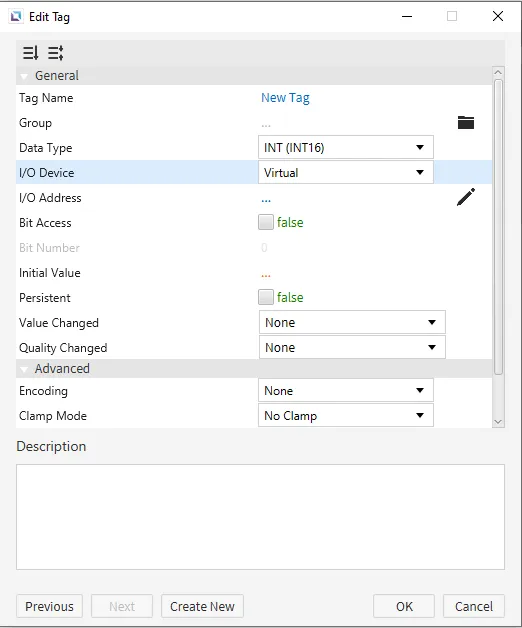
To create a new tag, click the Add Tag icon to open the Edit Tag window. This window will also pop up when double-clicking an existing tag or right-clicking an existing tag and clicking Edit Tag.
In this window, tag names, groups, data types, I/O devices, I/O addresses, and other properties may be assigned.
When selecting System in the I/O Device field, a Type field populates in the I/O Address Editor. The I/O Address Editor can be accessed by clicking the pen or the Edit icon to the right of the I/O Address field. The options of this drop-down are shown in the second image below:
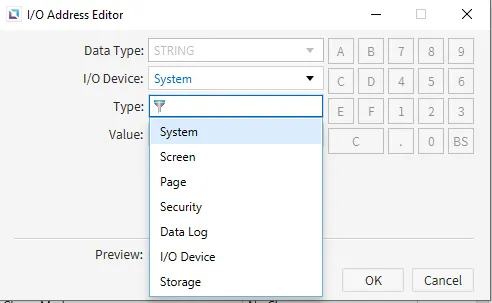
Each option populates another value field with preset selections to do particular functions. When EtherNet/IP (ODVA) is used as the tag's I/O Device, the I/O Address Editor will be populated with extra fields for ODVA tag support.
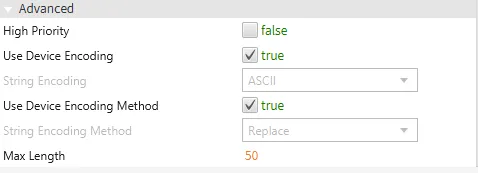
The visibility of the Advanced section and the fields shown inside depend on the data type field. The BOOL data type does not show the Advanced drop-down, whereas some data types do not have the Encoding field.
Tag Naming Rules
- When creating a tag, use a name that follows the criteria listed below:
- The following special characters cannot be used:
- $
- #
- +
- /
- ?
- .
- {
- }
- [
- ]
- Tags are not case-sensitive (i.e., dig and DIG will give a duplicate name error).
- The user cannot use the same tag name more than once in the same tag group.
- However, tags may use the same name in different tag groups.
- The following special characters cannot be used:
It is important to verify that the data type of every tag matches the data type used within the paired device. If there is a mismatch, data may be incorrectly represented or manipulated.
Only the first address is needed for data types that span multiple addresses, namely 32-bit DWORDs. The address of the remaining WORDs or BYTEs is implied.
Modbus devices typically send and receive one 16-bit WORD per address.
Tag Import
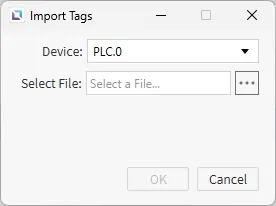
Tags from other projects on other devices can now be transferred to the Canvas project. By clicking the Import Tags icon in the tag editor, users can select a previous project's tag file to import the tags to the currently opened project.
The I/O device must be created before importing tags. Select the I/O device from the drop-down and select the file to be imported.
- The following file types can be imported:
- Allen-Bradley: .L5X
- CIMON CICON: .csv or .VAR
- Siemens: .sdf or .db
- CODESYS V3: .xml
Spreadsheet Compatibility
-
Select the tag(s) or tag group(s) to be copied to a spreadsheet. Users can select multiple tags using the [Ctrl] + Left-click. The subordinate tags are also selected when the user chooses a group tag.
-
Copy ([Ctrl] + [C]) the selected tags to the clipboard.
-
Paste ([Ctrl] + [V]) the contents directly into a spreadsheet. Each column stores a different tag attribute. These tag attributes match the ones described in the Edit Tag window. A detailed description of the tag attributes and their intended functions can be found here. Note that the associated attributes of Encoding, Clamp Mode, Deadband Type, and Scale Mode populate in a spreadsheet, even if their parent attribute is disabled.
-
Edit the tag(s)/tag group(s) in the spreadsheet. Users can automatically create consecutive tags with a spreadsheet's increment/decrement feature. Note: Most Auto-increment features do not work for hexadecimal values. Please double-check that word and bit addresses for real tags follow the correct device address format.
-
Select the rows in the spreadsheet to copy.
-
Copy ([Ctrl] + [C]) the rows to the clipboard and paste ([Ctrl] + [V]) them to the Canvas Tag Editor pane. The pasted contents will replace tags with the same name. All tag attributes must be copied for Canvas to paste into the Tag Editor pane.


Tag Binding
Tags can be bound to objects and their parameters. Within Canvas projects, tags can be bound to specific values in objects, and some objects require tags to be bound to them before they can function properly.
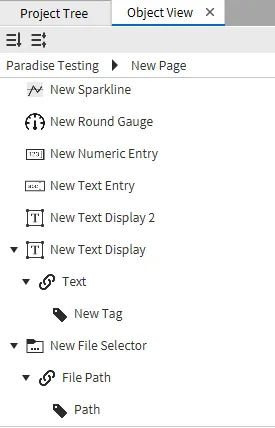
In the Object View window, users can view what objects have tags bound to them and what tags are bound to each object.
Manual Binding
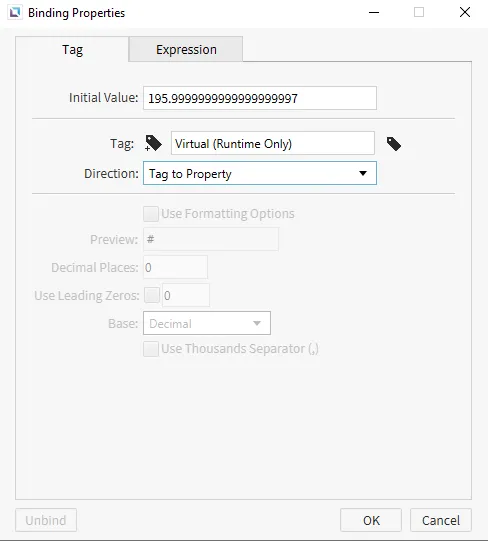
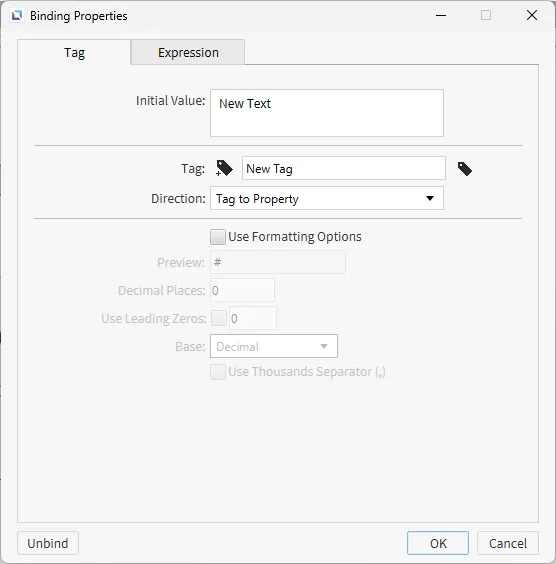
To manually bind a tag to an object parameter, users must hover over any parameter that can have a tag bound to it. Once hovering over, there will be a chain link icon. Clicking on this icon will open the Binding Properties window. Clicking the tag field will open a tag window and display all tags in the project. Users can select a tag from the page, which will then be bound to the parameter. Users can pick the direction for how the tag will function. Users can pick Tag to Property, Property to Tag, or Bidirectional.
Users can also drag-and-drop the tag onto the parameter. To bind a tag to a property, click and hold the tag's name from the Tag List pane. While holding, drag the tag onto the property to bind, and once the chain link icon appears, let go of the tag. It will automatically be bound to the property. After this, no further input will be required for the tag unless necessary.
Depending on the tag type, users can also add formatting options. These options can specify how many decimal places, how many leading zeros, or even if the base should be decimal or Hexadecimal, or if there should be a thousand separators. These will only work on tags that are bound to Text.
Smart Binding
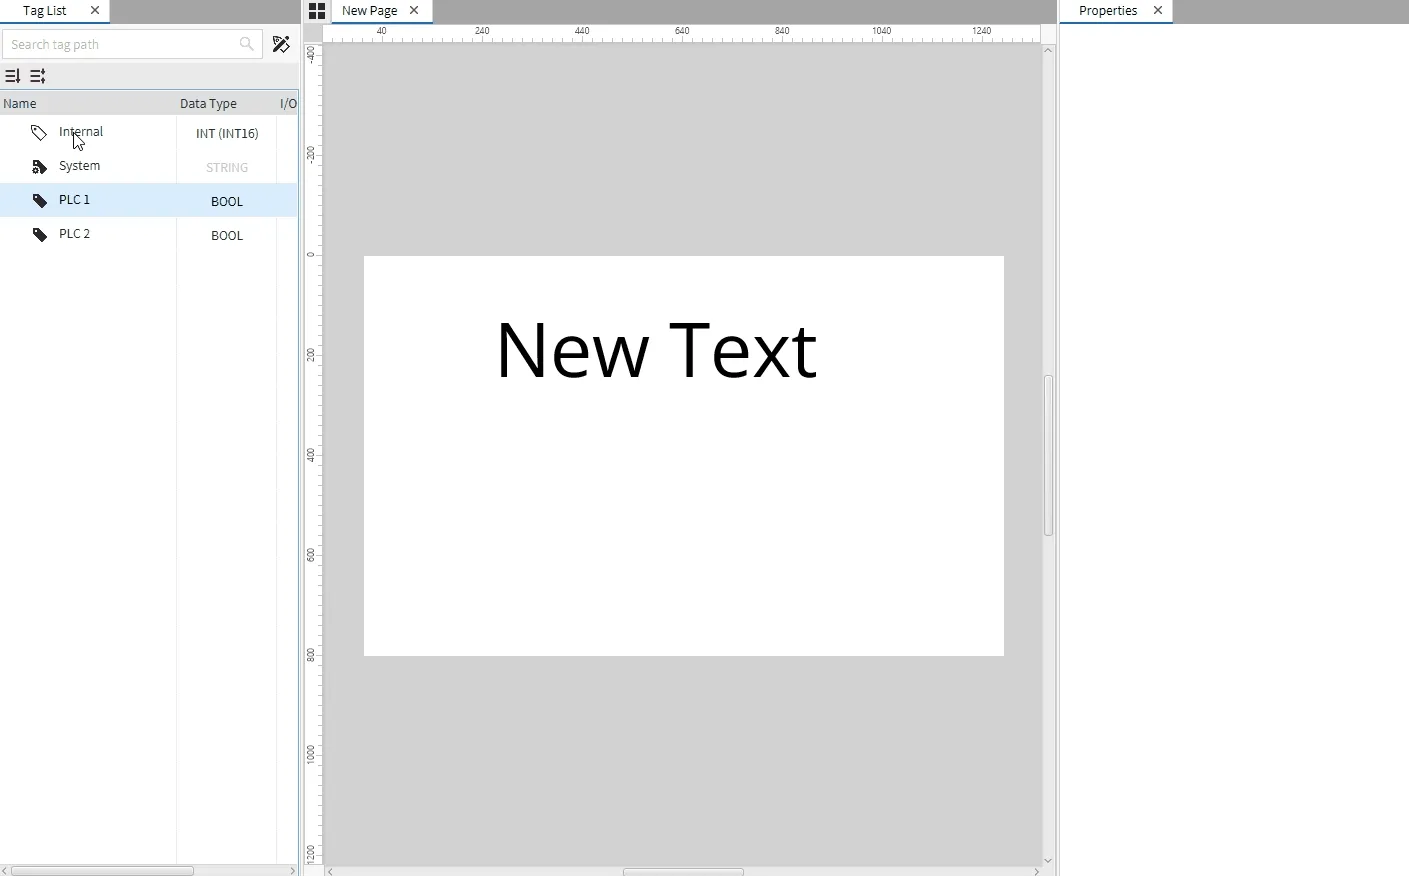
Some objects can be bound by dragging the tag onto the object. This will automatically bind the tag to a specific value property of the object.
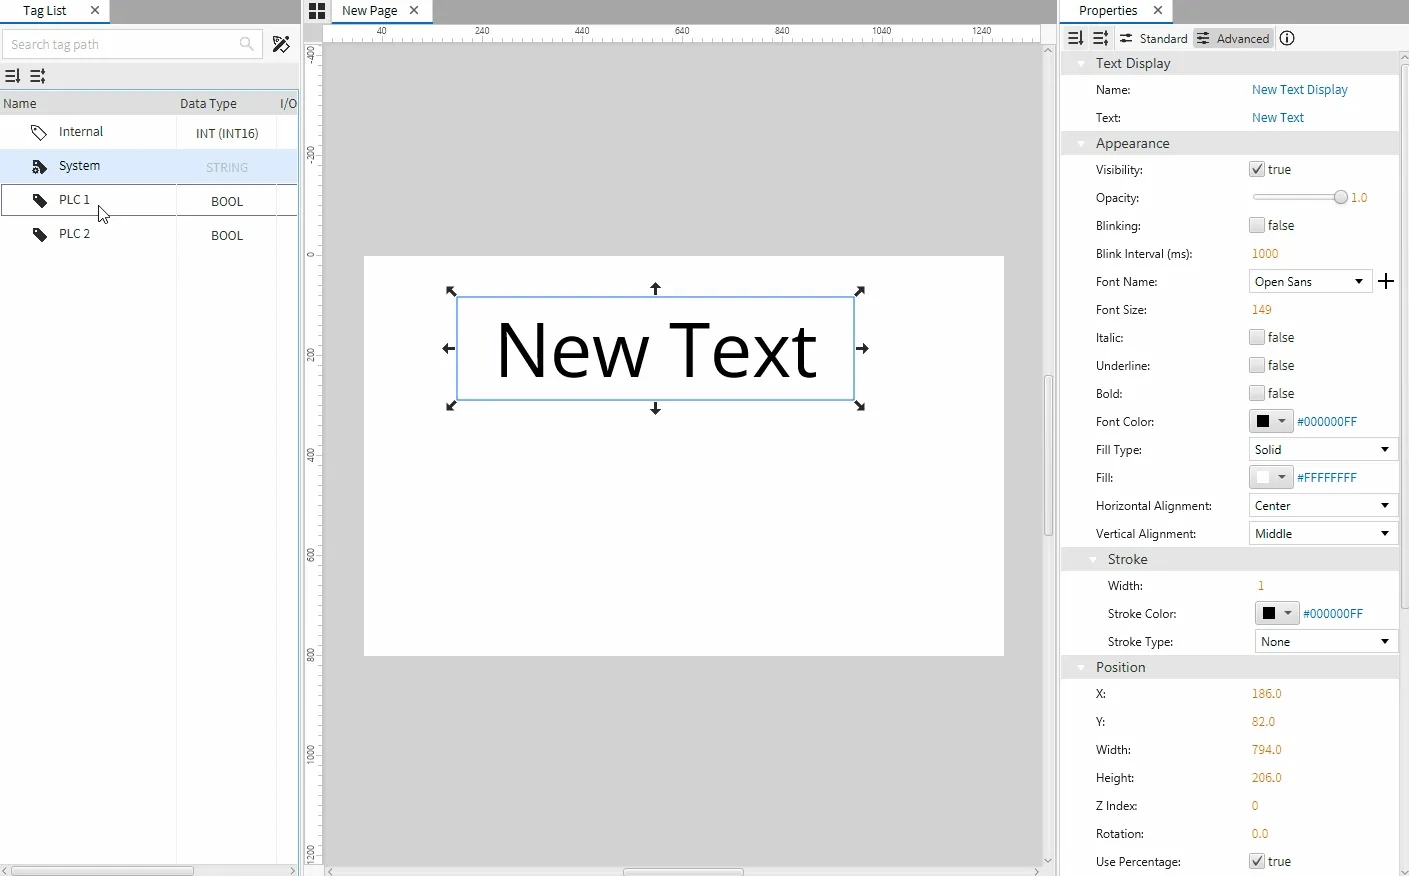
An example of this would be a Text Display object. When the user smart binds to a Text Display object, it will automatically bind the tag to the text property.
To smart bind, click and hold the tag's name from the Tag List. While holding, drag the tag onto the object to bind, and the cursor will change, indicating it can be bound to. Once the cursor changes, let go. The tag will be bound to the object, requiring no further input.
Objects that have a bindable parameter in basic properties will be able to have tags smart bound to them.
Unbinding
To unbind a tag attached to a property, hover over the property. Once the chain link icon appears, click it. Click the Unbind option to remove the tag binding.

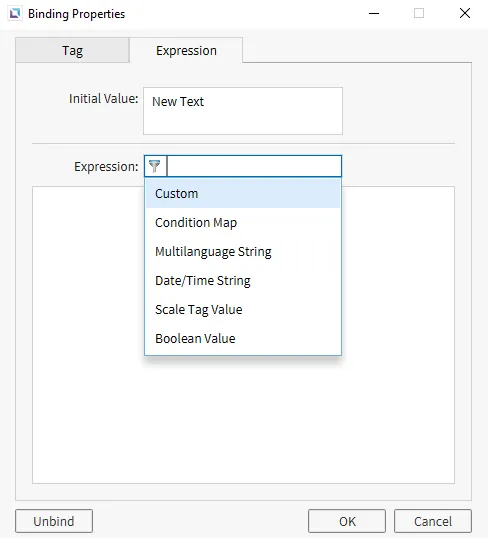
Expression
Expressions can be used on object parameters. Expressions can be used in place of a tag to have an object parameter function in a specific way. There are currently six expressions that are possible: Custom, Condition Map, Multilanguage String, Date/Time String, Scale Tag Value, and Boolean Value1.
Footnotes
-
Not all parameters can access all of these choices. Specific objects will only have access to some of the parameters listed above. ↩